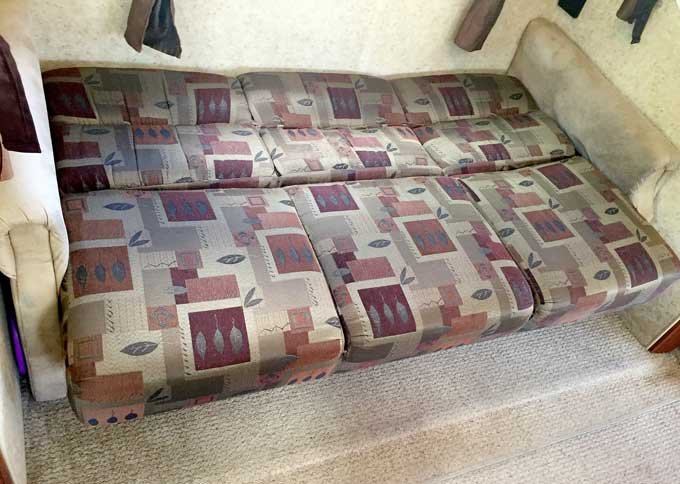
But where do you construct a workstation and desk in a 27′ fifth wheel? How do you build an attractive desk without losing valuable storage space? Well, we’ve had this rig about five years and the only one who regularly used the couch in our only slide was the dog.
The couch was ugly to begin with, and in a 10-year old rig it had become rather uncomfortable and developed a noticeable gap whenever raised. We kept it down most the time for Wyatt, and I’m sure sitting on that thing contributed to my lower back pain, regardless of how many pillows I used. It was time for it to go.
How To Remove RV Jack Knife Sofa
When designing my new RV office workstation I needed to specify the size of my desk and research storage options. You’ll have to wait for Part 2 to see what I came up with, and how I addressed things like a suitable desktop, storage space, accessible AC power, and affordability. For now, follow these simple steps to remove a jack-knife style RV sofa – whether you plan to replace it with a more comfortable model, or build an ergonomic RV workstation.
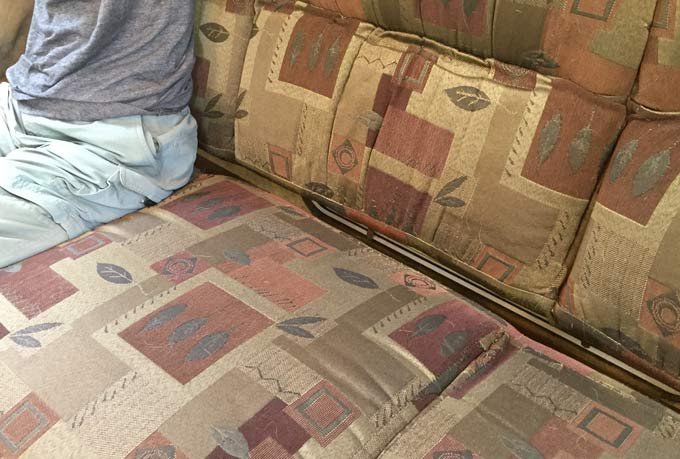
First, remove the front panel and find a place to put everything you have accumulated in the storage area under the couch. We’ll share where we put all our stuff in my next post. Raise the jack knife sofa half way to access the cushion mounting bolts. You can use a wrench to remove the mounting nuts. I prefer to work smarter, not harder, and used a portable drill and socket adapter for the three-eighths inch nuts on our couch.

With the seat cushion removed, access the backrest cushion mounting bolts from behind.
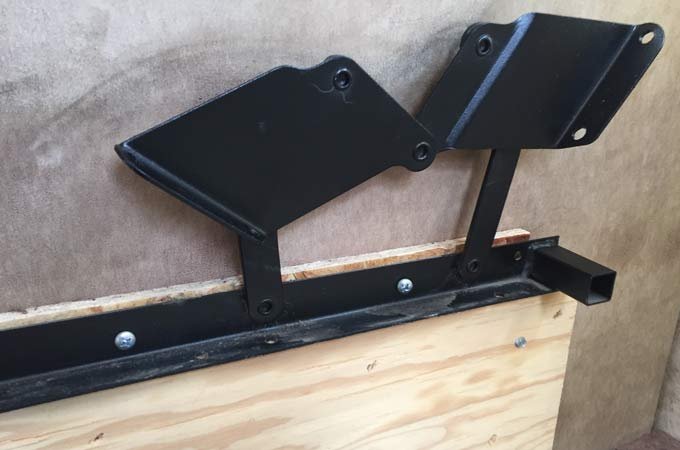
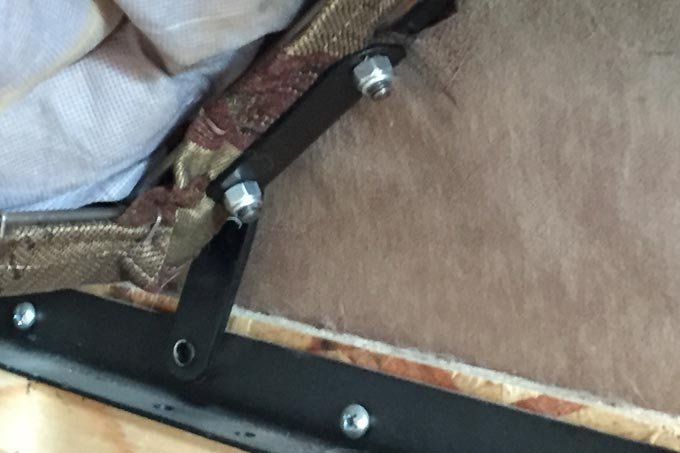
Once you’ve tossed both ugly cushions out your front door, use a screwdriver bit to remove the swinging brackets from the couch foundation. Or, use a Phillips screwdriver if you prefer to do things the hard way.
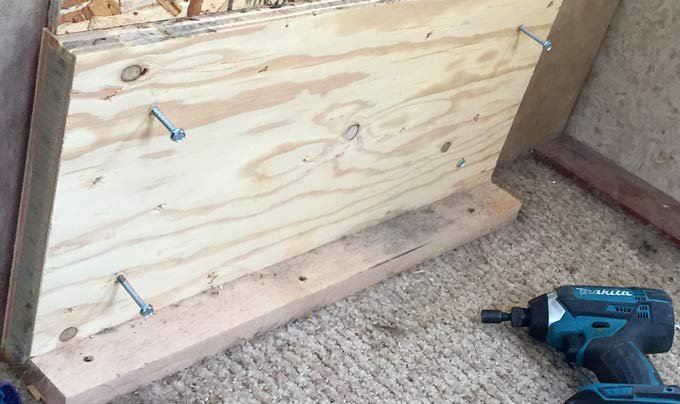
A Makita impact wrench made quick work of removing the couch foundation from the armrests. I suppose you could skip this step if you wanted to deal with heavy debris, or were looking to reconstruct the couch elsewhere.
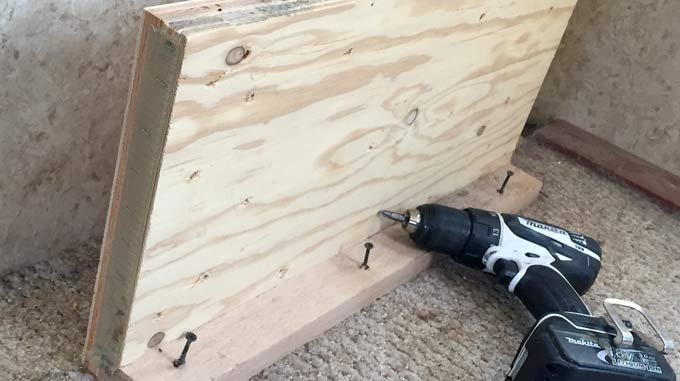
Unscrew the wood components from your slideout floor. Fair warning, ours had additional screws securing the wood from below. A hacksaw did the trick for removing the protruding screws.
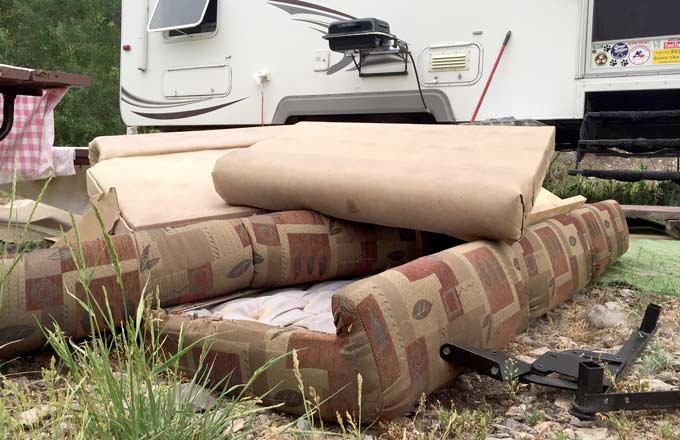
Rene was ecstatic to see that brown monstrosity gone for good.
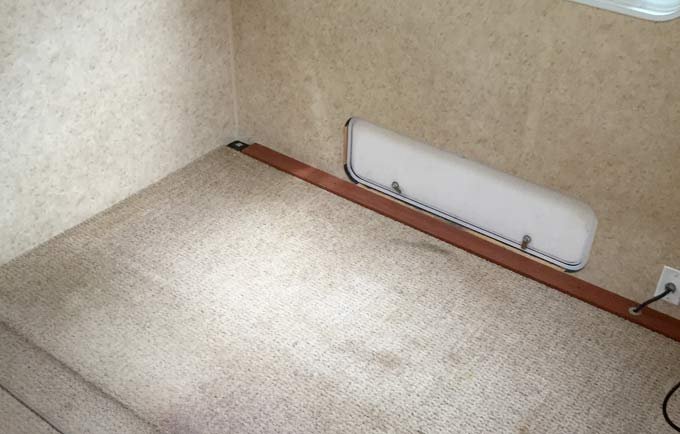
With the ugly couch gone, the rig already looked better and felt much brighter and bigger. Note the exposed storage bay door, and stay tuned to see how I re-used some sofa parts to cover that up. That DC power cord in the slideout wall, also presented a challenge but it was actually in a perfect position for the desk I built.
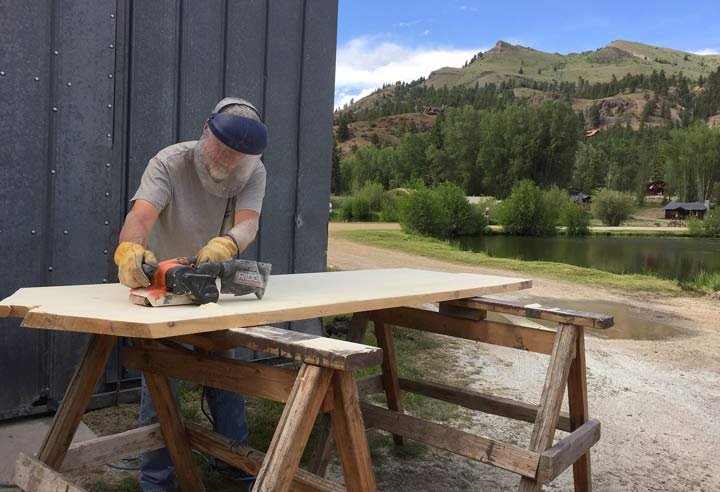
Taking on this project while workamping at Vickers Ranch provided the perfect opportunity, with access to the right tools for the right job – and plenty of beautiful raw material for the latest addition to my woodworking projects.
This is just a sneak peek. Complete details about our new ergonomic RV office space is coming soon! Subscribe here to be notified of new Live Work Dream blog posts, and receive a free gift.
Don’t Miss:
RV Workstation Remodel – Part 2: Custom Office Desk
THAT is the same sofa/bed I want to replace in my RV!!! Nothing wrong, just time to update. Could you please suggest a replacement (Amazon?)
Easy on, easy off
Thank you for your help.
Hi Rich! We didn’t replace it with another couch, we put a desk in, which you can see in Part 2 of our remodel.