The easiest way to repair RV water pump is to replace it with the exact same model. Follow these simple steps to replace an RV water pump. Purchase the same water pump that went bad, and the project should only take a few minutes.
Simple Steps to Replace RV Water Pump
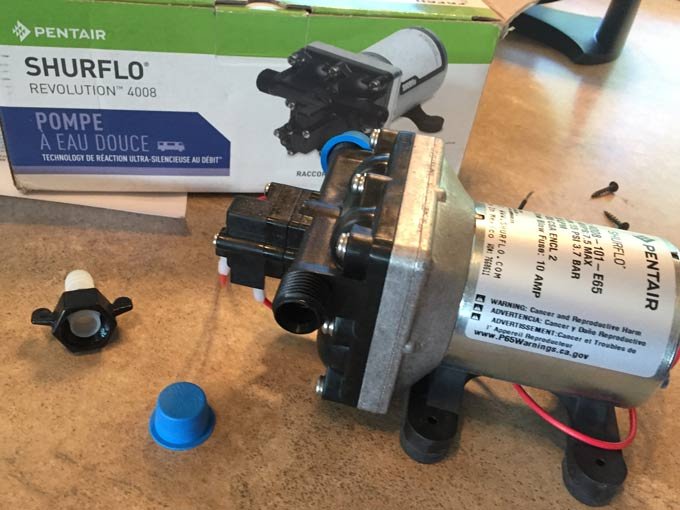
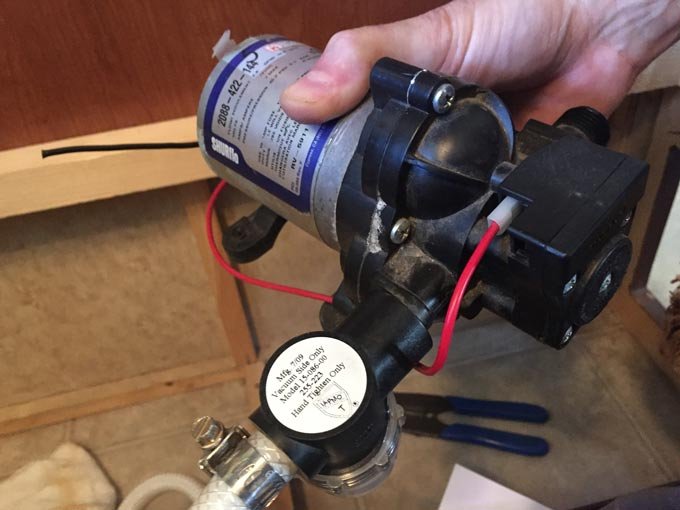
The easiest way to replace an RV water pump is to get the exact same model. That way all the connections will be the same. You will only need to detach the pump, and disconnect the hoses and wires. Then you can connect the plumbing and electrical wires in the same positions on the replacement pump. Our ShurFlo RV water pump went bad after nearly 7 years of full-timing use. I purchased the exact same model, and replaced it within 15 minutes.
Shurflo is the most common water pump in most RVs. The original water pump in our 2010 Arctic Fox was the Shurflo Revolution model 4008-101-E65 classic pump found in many RVs. There are many other Shurflo 4008 compatible water pumps available. Some may offer higher water pressure, or longer performance. Many are cheaper knock-offs. But to guarantee the easiest water pump repair at the most affordable price, I purchased an identical replacement pump.
Signs Your RV Water Pump is Going Bad
A sure sign your RV water pump is failing would be a leak. RV water damage is the last thing you want! To avoid a leaky water pump, look for these signs the pump is going bad. Low water pressure is an obvious sign of water pump failure. Inconsistent pressure is another.
It is also important to note the following. Does your water pump continue to run a long time before building up enough pressure to stop? Does the pump run non-stop to maintain pressure when taking a shower or running a faucet? And does your pump continue to run a along time after shutting off the water? These are all signs of a failing RV water pump.
Final Pump Failure May be Electrical
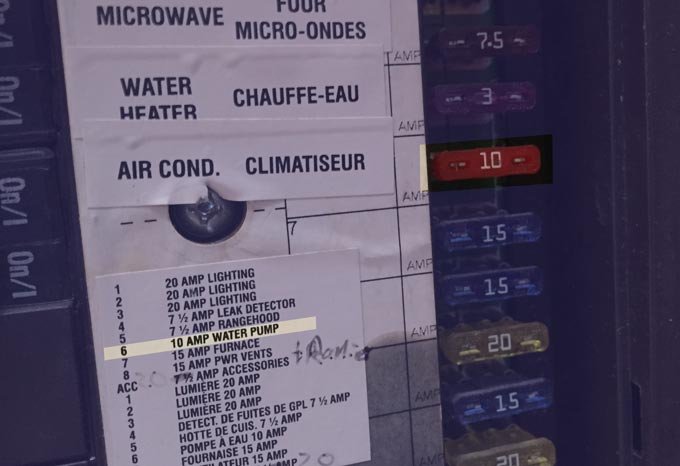
I did not ignore the signs of our failing water pump. Instead, I purchased a replacement pump ahead of time. This way I was prepared to easily replace RV water pump when it finally failed. We had started to hear many of the pump failure symptoms I described above. Then one day it just stopped working. I discovered the fuse for our pump had blown. This is another reason to always keep an automotive fuse assortment on hand!
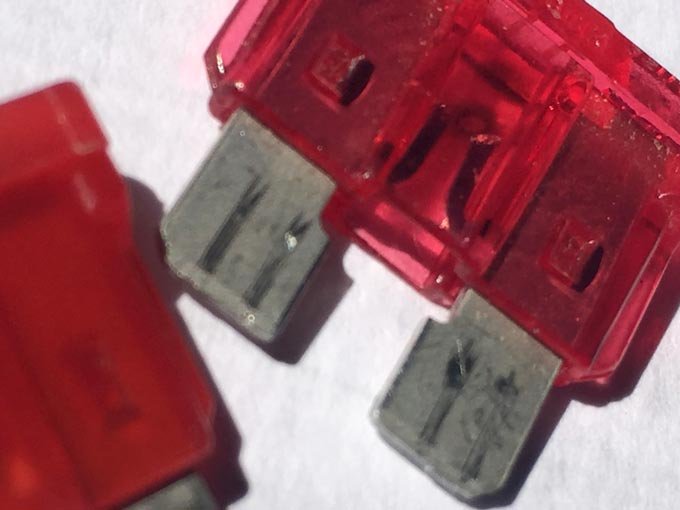
After replacing the fuse, it quickly blew again when I turned the pump back on. I checked the water pump strainer/filter for debris to confirm there was no blockage in the supply line. The water pump was working too hard. It was time to replace it.
Simple Steps for Easy Water Pump Repair
The easiest way to repair a broken pump is to replace it. There are many affordable 12v water pumps. Yet, there are also many RV Water Pump Parts available, if you choose to go the DIY repair route. For simplicity and cost, I feel replacement is the best repair. Here are the simple steps I followed to replace our water pump.
Turn off pump and/or remove 12v fuse. Open faucet to release pressure from the RV plumbing. Place towels around work area, and have small container handy to capture any water from disconnected hoses.
Remove screws from rubber mount attaching the pump to the floor.
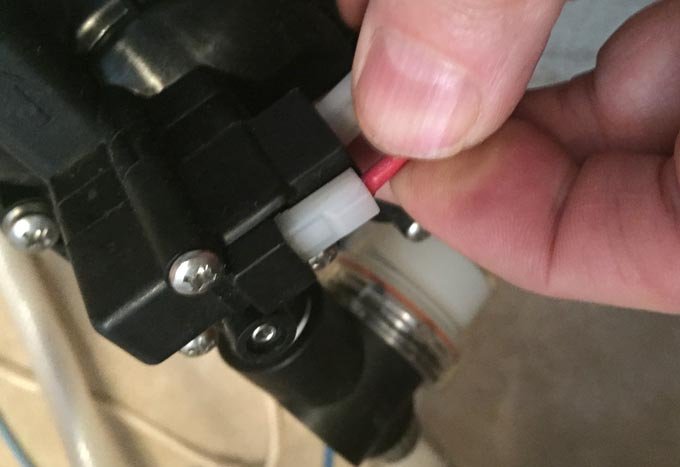
Disconnect DC wiring from pump. Depending on your pump model, you may need to cut wires and/or unplug connectors. Make note of which color wire is connected where! Some RV manufactures may use colors other than the standard black and red wires attached to the new pump.
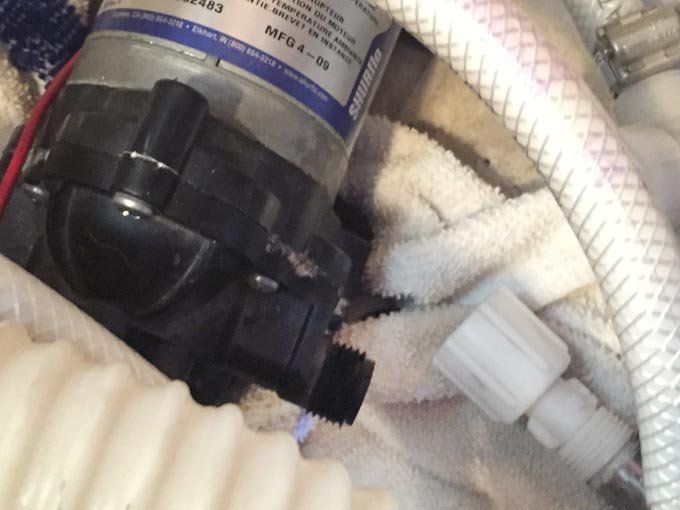
Disconnect hose from water output side of pump first. Place towels or container under connection to catch any spillage. Drain any water from pipe and hose.
Disconnect hose from supply side of the pump. Our pump was connected directly to the water filter with no slip nut connection. To avoid removing and reattaching the hose clamp, I held the filter and hose steady, while rotating the whole pump to unscrew the connection.

Inspect and clean water filter. Check for any signs of moisture or water damage around the area where pump was mounted.
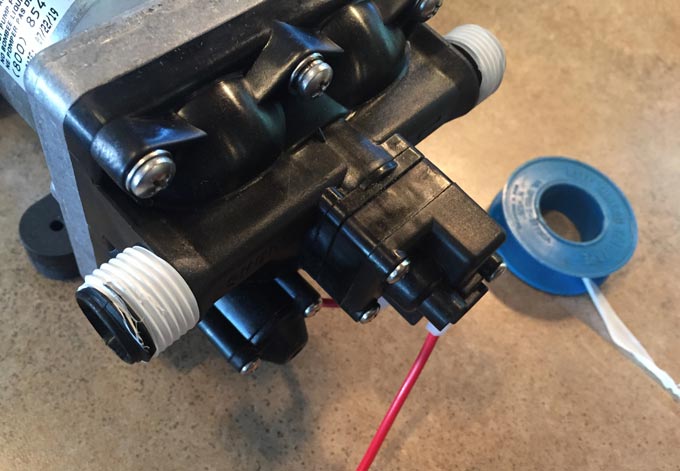
Apply plumbers thread seal tape to the water pump threaded plumbing connections.
Attach water supply line (or filter) to pump. Then attach the other hose to the outlet connection.
Reattach the 12v DC wiring to the same wires and/or connectors which you removed. If you had to cut any wires, you may need to reattach the wiring using butt connectors (recommended) or wire nuts. Do not just bind wires together by hand and seal with electrical tape. The constant motion of an RV can loosen weak electrical connections. This can increase the potential for catastrophe.
Test the water pump prior to attaching it to the floor. This will save you time and effort if you need to reconnect any hoses. Turn on the pump and allow ample pressure to build up in the lines. When the pump shots off, run water at each faucet until all air is expelled from the plumbing. Check for any signs of a failing pump listed above. These could indicate a leaky connection.
Inspect for any moisture, and reattach the pump mount to the floor. Enjoy your new water pump!
Any questions?
See all RV maintenance and repair articles, or all posts about RV plumbing. And subscribe here to be notified of new posts.
Plumber thread seal tape should not be required. The seal is at the edge if the fitting not on the threads. If there is a leak at the fittings either it needs tightened or the gasket seal Inside the female theaded fitting needs replaced.
Jim nice article.
My pump recently stopped working, but I got lucky, it was just a loose connection at one of the switches, so no cost. Unfortunately, my pump is located behind a panel which takes about 45 minutes to remove and even longer to re-install, so of course it was still a project.
So for your readers, I would add that it is worth pushing on all the connections, at all the switches, to make sure they are firmly seated, then re-testing the pump, before replacing. My rig has 3 switches and again I got lucky, it was the first switch I checked that had a loose connection.
Good point, thanks! I hate those hard to reach repairs – which are most repairs in any RV. Thank fully our water pump is very easily accessible.