In my recent best RV blogs of 2019 round-up, I shared how our truck and rv maintenance posts are most popular. I also hinted at one that is long overdue. In reviewing all our photo galleries for that post, I discovered that I never wrote about how to repair burst airbags after we had one of our Air Lift suspension bags pop on us.
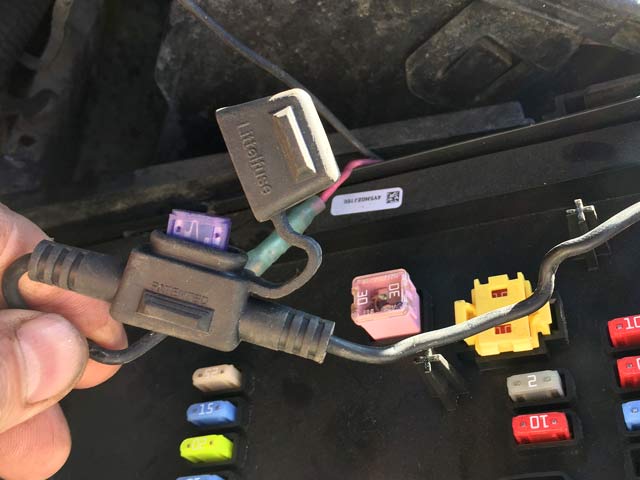
After leaving our first Harvest Hosts boondocking spot, we hit a hidden trench at the bottom of a short steep grade. I wasn’t going fast at all, but the dip gave the trailer a good bump. Good enough to pop one of our Air Lift air bags apparently. At least that is what I guessed, but how did I know? Shortly after the bumpy ride, I noticed our airbag compressor had kicked on. And it wasn’t shutting off. A quick inspection of the bags revealed they were empty. Now what? I removed the fuse to shut off the SmartAIR Self-Leveling System, and prepared to investigate when we arrived at our next destination.
That short trip reminded me just how much I love our Air Lift suspension bags. Below I share how to troubleshoot and fix burst airbags. That quick job reminded me how much I like the Air Lift company. They have always offered superior customer service, and quickly shipped me a new airbag once I explained what had happened. Air Lift offers a lifetime product warranty, And in more than four years, this was the first time i had to take advantage of that to fix burst airbags on our truck.
How to Replace Popped Airbag on Truck
The first thing I had to do after discovering the loss of air from our Air Lift Load Lifter 5000 airbags, was to determine where the system was leaking. I had hoped that perhaps an airline had popped loose under pressure. Based on the big bump, I was fairly certain we were dealing with a burst airbag. One quick test confirmed the latter.
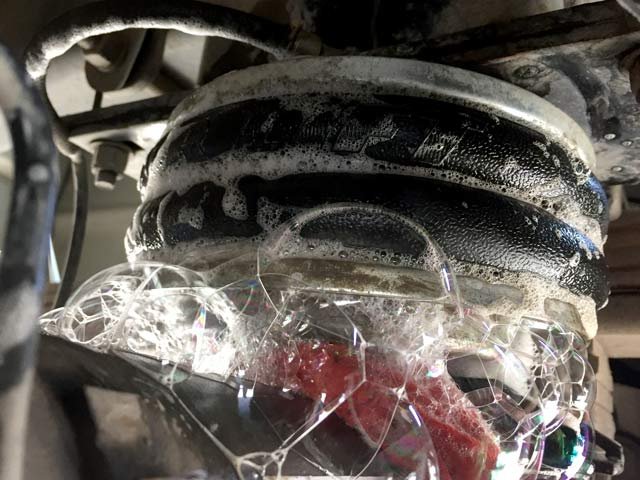
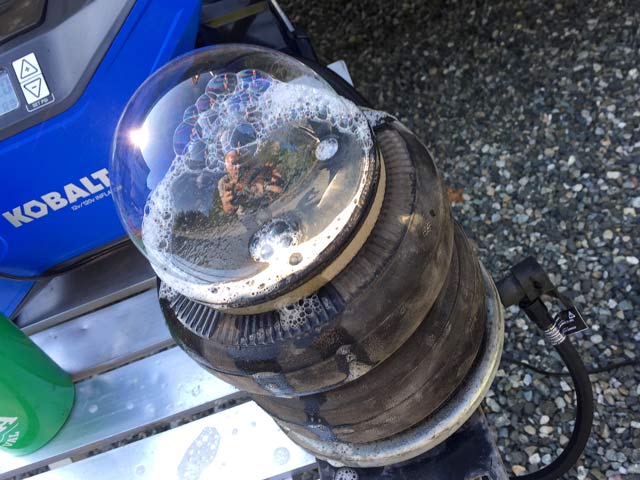
After visually inspecting all the airline connections for our SmartAIR Self-Leveling System, I mixed up some dish soap and water. Using a rag, I slopped the soapy water all around one of the airbags, looking for any sign of a leak. Nothing. Duh. Turn on the compressor! I replaced the fuse and turned the key to power the system. Once the SmartAIR compressor kicked on, I crawled back under the truck in search of the burst airbag. The first one I checked appeared to be fine. Then I crammed the sopping wet soapy rag up under the second airbag. It immediately started making big bubbles.
With the issue confirmed, I proceeded to remove the damaged airbag, and find out just how bad the damage was…
Turn off key, or remove fuse to disengage compressor. No compressor? Consider the SmartAIR system to make your life easier!
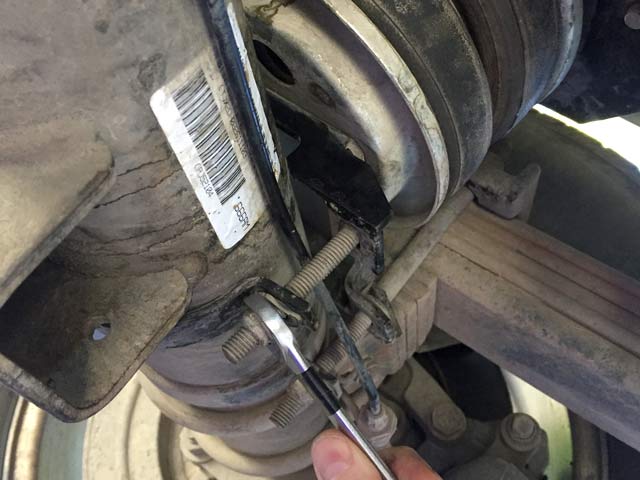
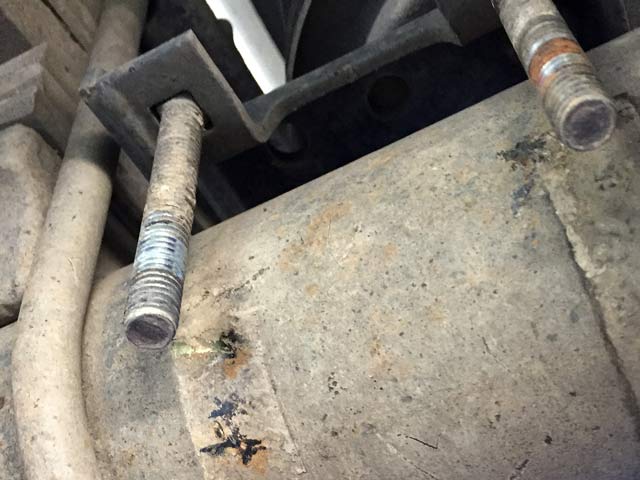
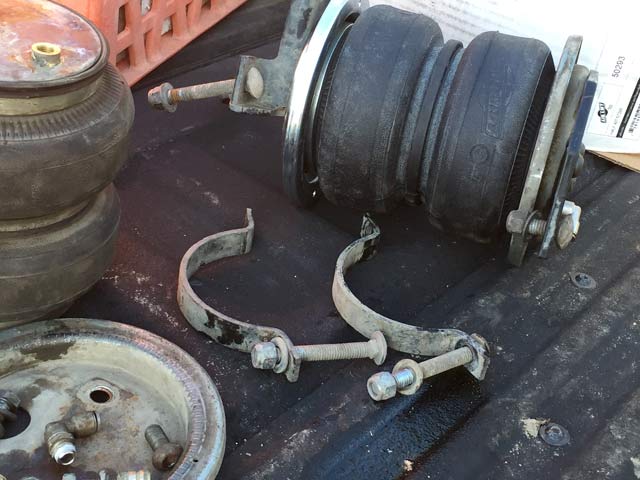
Remove nuts from the bolts securing the retainer clips to the axle.
Once the retainer clips removed, be sure to disconnect air line from top of airbag.
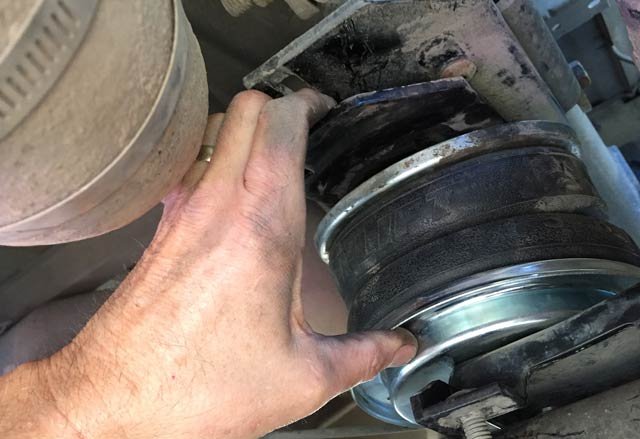
Squeeze the airbag to compress the bellows. This will allow you to rotate the bracketed airbag assembly around the axle for removal.
Remove airbags from the brackets. To confirm the location of the leak, before I removed the top bracket I connected our portable 12v DC air compressor to inflate the airbag. It didn’t inflate much considering the amount of air escaping the bottom.
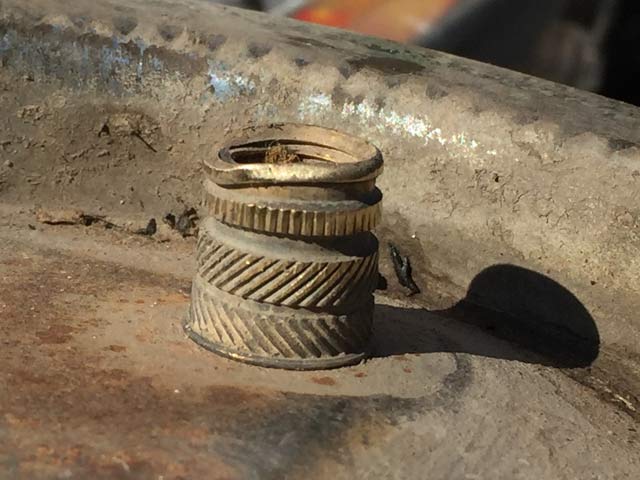
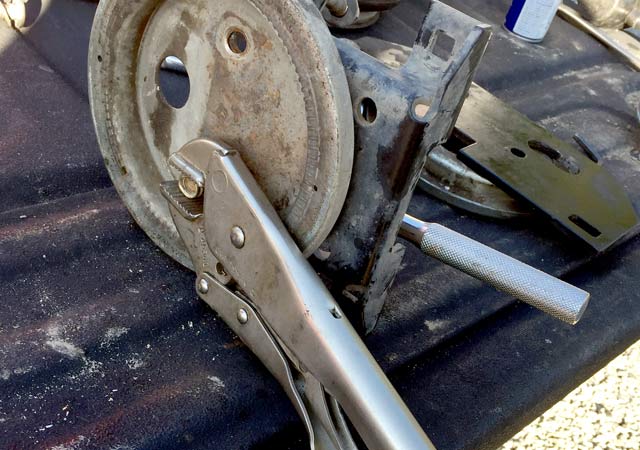
Closer inspection of the bottom bracket revealed the culprit. The brass fitting pictured above belongs permanent affixed to the airbag, which was clearly damaged upon severe compression when we hit the ditch.
Removing that fitting was a bitch proved difficult. Do whatever it takes to remove the round rocker plate from the airbag bracket.
Compared to the new airbag, you will notice how the fitting broke loose from our burst airbags causing the rapid air loss.
Repair popped airbag by attaching the rocker plates, mounting brackets, and air supply valve to the new one. Squeeze the assembly together when positioning bottom bracket over axle. Keep squeezing bellows and rotate airbag assembly until top airbag bracket aligns with top mounting bracket.
Connect air supply line to valve.
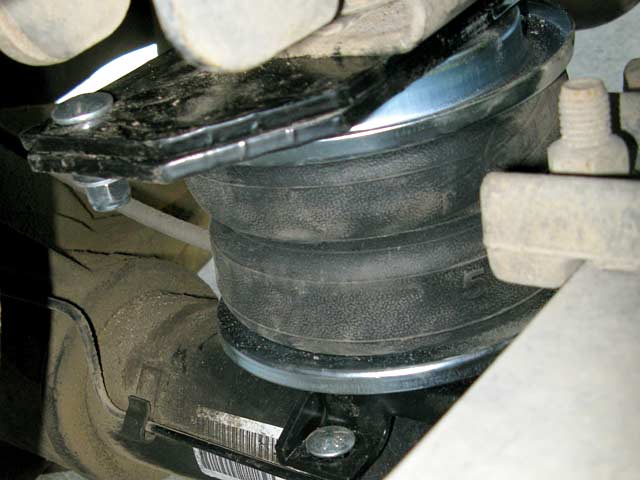
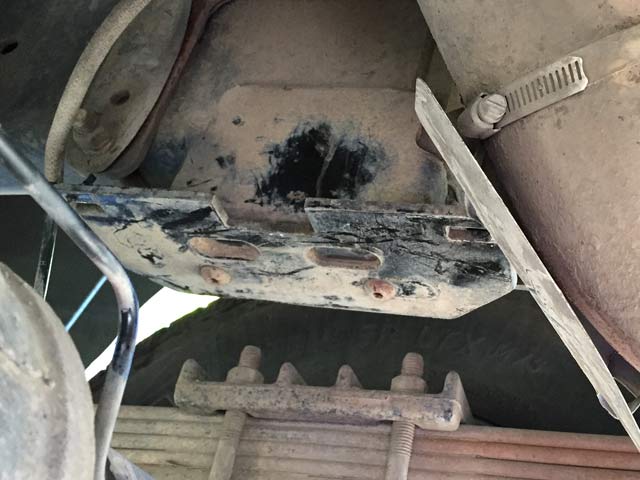
To the right of the top mounting bracket pictured above, you will notice the heat shield which prevents damage to the airbag. This is mounted to the exhaust pipe, so it only appears on one side of the truck. You may or may not need to remove this to extract your popped airbag. I did, by loosening the band clamps just enough for me to remove the shield plate so it was in the exact same place when I reinstalled it.
The best part about this repair was the excellent customer service I received from Air Lift. Traveling full-time, we needed to ensure prompt delivery of the replacement airbag they offered to send for free. They were very accommodating, allowing me to pay only for rush delivery.
For complete details about our airbags, don’t miss my post detailing how to install air bags on Dodge Ram 2500 with fifth wheel hitch. And if you have Air Lift suspension, check out my installation video for how to auto-inflate truck air gags with Air Lift SmartAIR Self-Leveling System.
Any questions?

My front driver’s lower ball joint broke on my tundra when it did rear air bag broke and is sitting in sideways and brackets don’t line up anymore . I need help please
Sounds like a serious alignment issue. I’d have a shop take a look. Good luck!
Great post! You always manage to make these repairs look a lot less intimidating than they seem initially.
Thanks!