Ah, the joys of full-time RVing…the floor in our RV kitchen has developed a rather noticeable squeaky spot. I blame it on that rather rough Alaskan RV road trip. Regardless of the reason, I was determined to determine the cause and repair it by any means necessary. Since our Arctic Fox 275B is a four-season fifth wheel, my first challenge was making sure I had the right parts before getting started. Specifically, this meant finding the right tape to seam up the underbelly lining after I cut it apart to expose the floor from below. Luckily, on our Arctic Fox factory tour, I had the opportunity to ask the perfect person.
Getting a chance to see how these trailers are constructed was also beneficial. Removable black Coroplast is used under the tanks to facilitate access for repairs. Above that, a durable black film covers the insulation under the floor near the area of our squeak. And that is exactly where I needed to investigate.
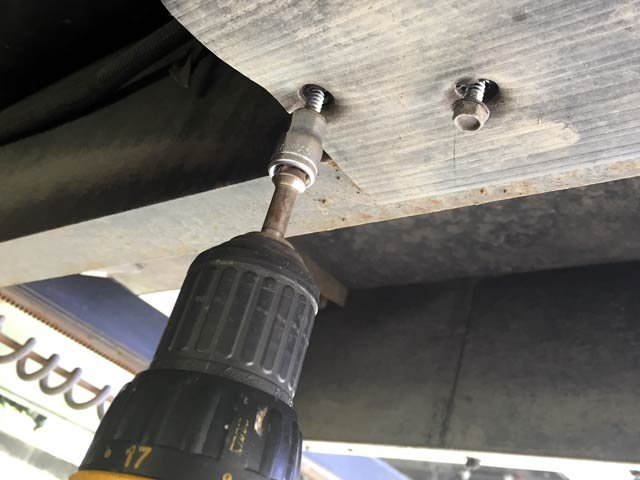
A socket adapter and portable drill made quick work of removing the Coroplast to expose my work area. I did need to make a relief cut to pull the material down from under the waste tank plumbing.
This just allowed me to view the underbelly film liner, which is clearly not meant to be removed. I knew I had to cut that open to check out what was going on underneath. But while duct tape may be one of an RVer’s best friends, I knew there had to be something better for this repair job. Our guide at Arctic Fox called it “Darko” and with a quick search I discovered Flex Mend Mobile Home Belly Bottom Repair Tape.
How To Investigate RV Squeaky Floor Repair
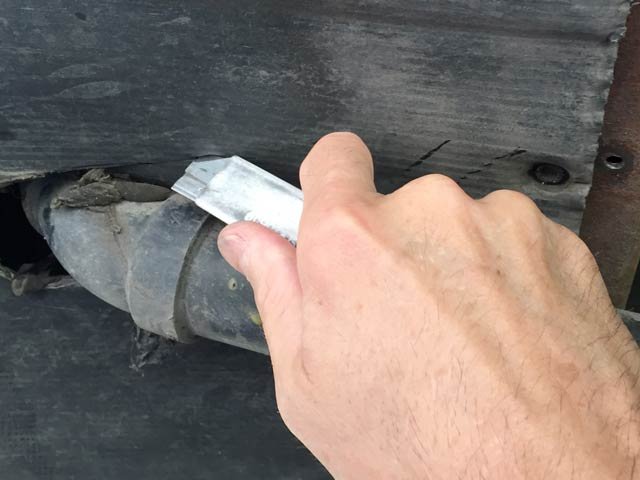
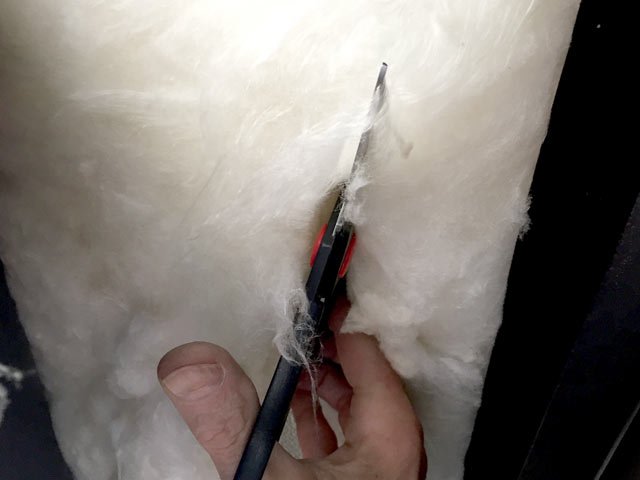
First I measured the approximate location of the squeak in our kitchen floor. To be certain, I had Reane step on the spot whil I listened carefully from below. With surgical precision, I slit a straight cut across the lining where I needed to access the flooring.
A couple slits at 90º angles on each end allowed me to expose the insulation. Our rig is pretty well insulated, with the material all tucked in tight and and tidy. So I used utility scissors to cut through the insulation, keeping it intact as much as possible.
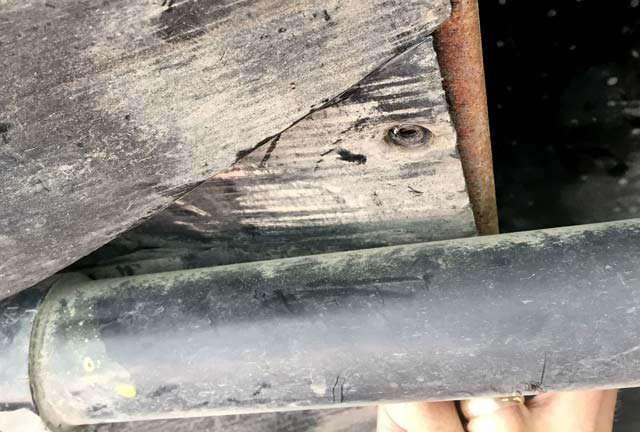
Fearful of what I may find, I was hopeful I might find a simple loose seam in the boards which I could brace up or join together. Alas, I discovered a ventilation duct running the length of the kitchen directly below the area that squeaks.
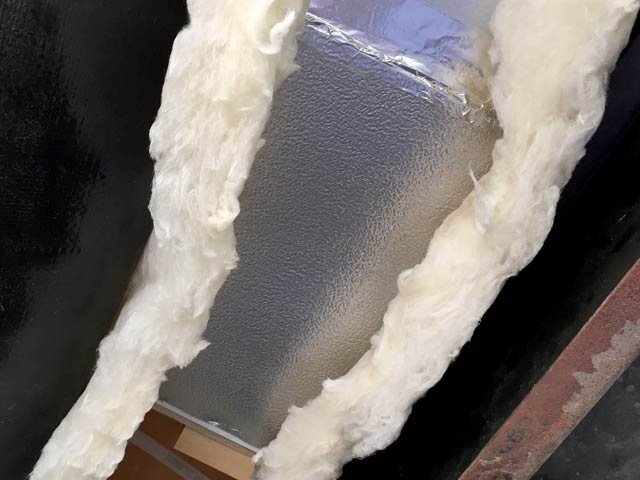
Dead end. I’m not about to start pulling apart the duct work. I did discover, however, that there is no major cause for alarm with this repair. There is no sign of water damage or any other sort of issue that needs immediate attention. This is one of those little things we must learn to live with, like that silly sewer cow.
So, what about that exposed RV underbelly?
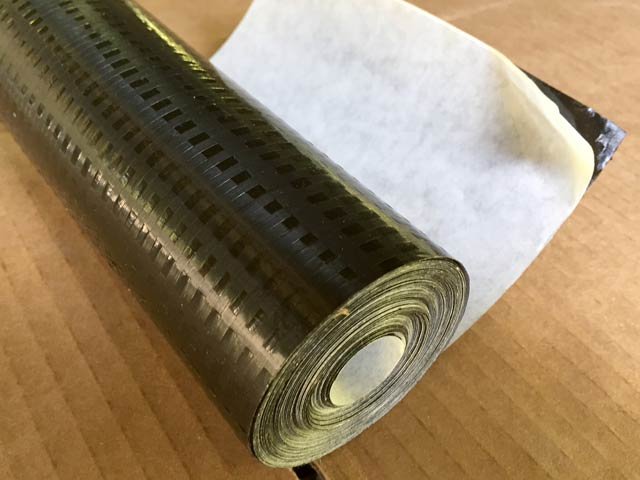
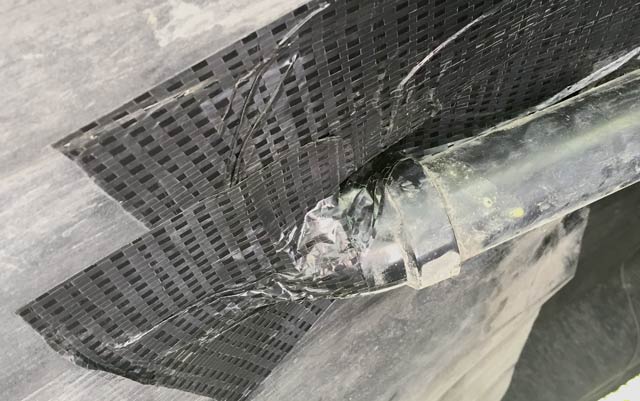
That’s where Flex-Mend Tape comes to the rescue. This stuff is tuff, and incredibly sticky. It appears to be made of the exact same woven material as the underbelly lining itself, with a rip-stop pattern that is likely designed to prevent little tears becoming much worse.
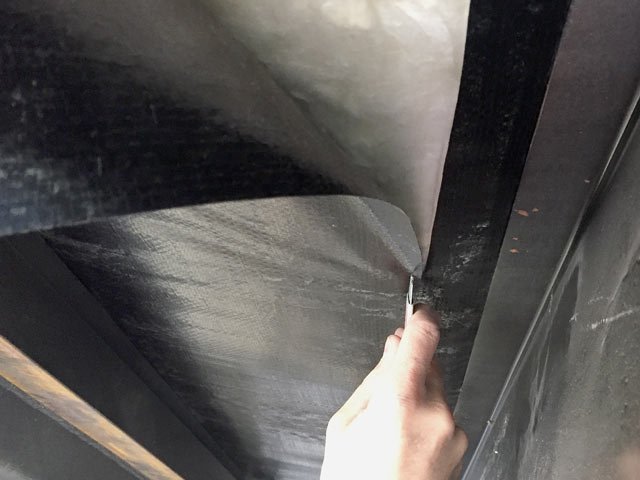
After tucking up the insulation, I cut small lengths of the tape to hold the lining together in a few spots. That gave me a narrow gap to follow while applying the 4″ underlining repair tape. There is also 6″ Flex-Mend Tape available in varying lengths Once in place, this stuff wasn’t coming up. So it was easy to apply and get a good seam, but you want to make sure you get it right the first time.
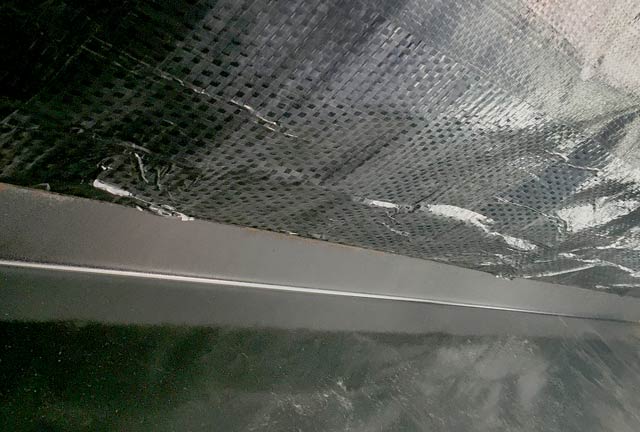
After I applied the tape along the full length of the seam I had cut, it was hard to tell there has even been a repair. Hold the tape taught on the roll while applying and smoothing as you go to avoid any air bubbles or creases.
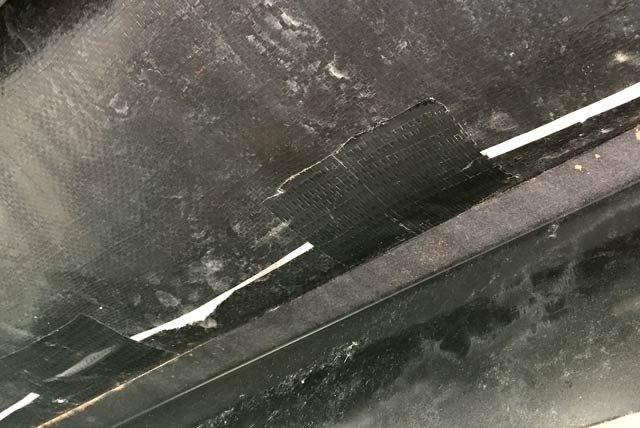
Tucking the Coroplast back up around the plumbing did leave an exposed seam. So I applied some of the Flex-Mend tape around the area to prevent access to any uninvited critters.
I have already noticed, however, that some of that Darko tape I applied to the Corplast is coming up. This is likely because I did not clean the surface adequately. This part may call for some of that trusty duct tape.
Jim, Good effort, you’re a brave manto attempt the task, sorry you couldn’t find the cause of the squeak.
Going forward, just don’t step on that spot or turn up the volume on your music. 🙂