The best way to fix RV delamination is to prevent it from ever occurring in the first place. If it does happen, you definitely want to catch it early and prevent it from getting any worse. I personally never want to fix RV delamination on the siding of our trailer. That’s why I take steps to prevent the sides from ever delaminating.
What is RV Delamination
On our Northwood factory tour, we got to see how our Arctic Fox fifth wheel is built, from the wheels up. Having run our own graphics shop for 10+ years, I spent plenty of time in front of our large format laminator. So I was particularly interested in seeing how they laminated the walls together. That was rather impressive. It’s basically the same process we used to create large format graphics, but on a much larger scale!

The sides of our fifth wheel are made by laminating various layers of materials together. Large sheets of the fiberglass outer skin are glued to a lining and high density foam filled aluminum super structure. The interior walls are created by laminating additional materials on the other side. These assembled components are rolled through a large laminator which presses everything together under high pressure.
RV delamination occurs when the outer layers separate. The fiberglass skin may lift up from the lining or wall material underneath. Bad cases of RV delamination can present itself as a large bubbling effect. Big areas of the exterior wall may have a noticeable bulge that compresses like a big blister when pushed. Or, you may notice a fine rippling of the siding near lower seams and molding. If not addressed immediately, these ripples will get wider and work their way up your wall. We noticed the early stages of this on the front of our first rig. Thankfully, it never got any worse once I took the following steps to prevent RV delamination.
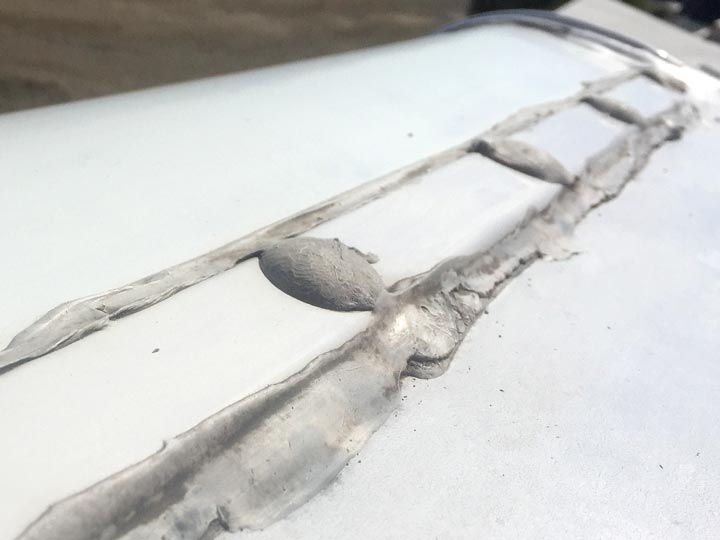
How Do You Prevent RV Delamination
To fix RV delamination, once it gets really bad, requires stripping the sides and basically rebuilding the exterior walls. In most cases, this is a cost-prohibitive total loss. That is why it is best to prevent RV delamination by frequently inspecting and sealing every exterior seam.
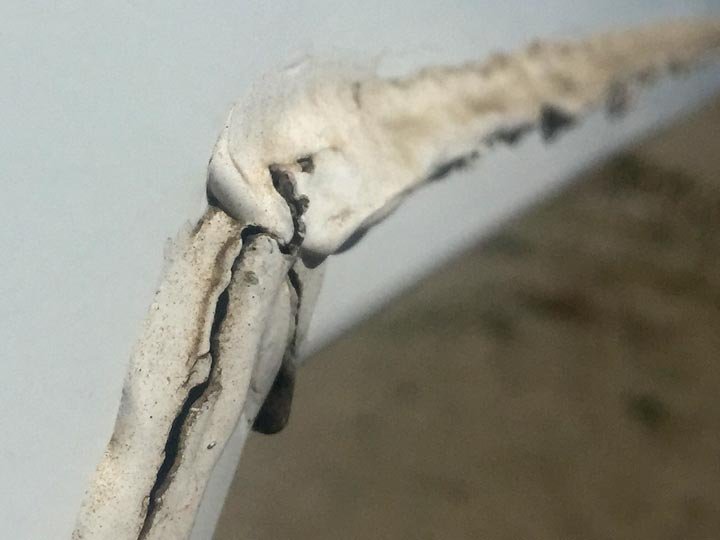
On our factory tour, the Arctic Fox product manager suggested this should be done every year. I’m confident that frequent inspection, and spot repair of any deteriorating seams will fix RV delamination. Or rather, maintaining good exterior wall seams will prevent it, or keep it from getting any worse. That’s why I believe every RVer should have a supply of Dicor lap sealant in the toolbox.
Every few years, you may want to stock up on Dicor and reseal the entire rig. It’s no fun, but that’s what I did last year. And so far, this year everything is looking good, with no signs of delamination.
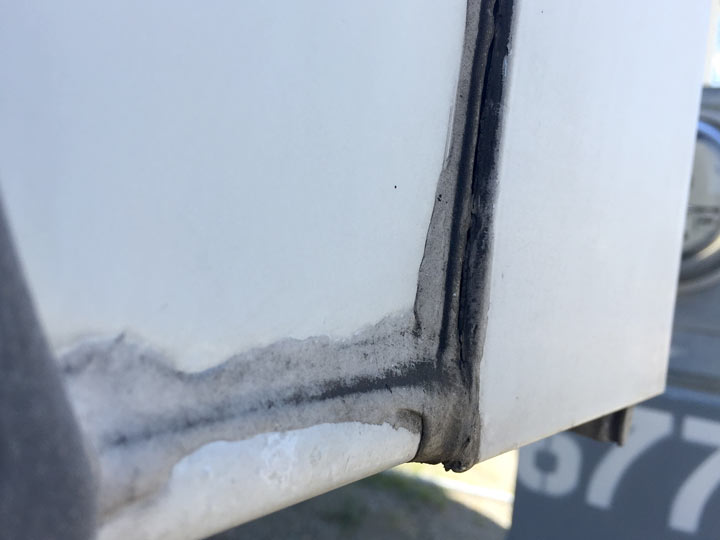
First, inspect all the seams on the exterior walls of your RV or trailer. Whether you have aluminum or fiberglass siding, you need to prevent moisture from entering the laminated walls.
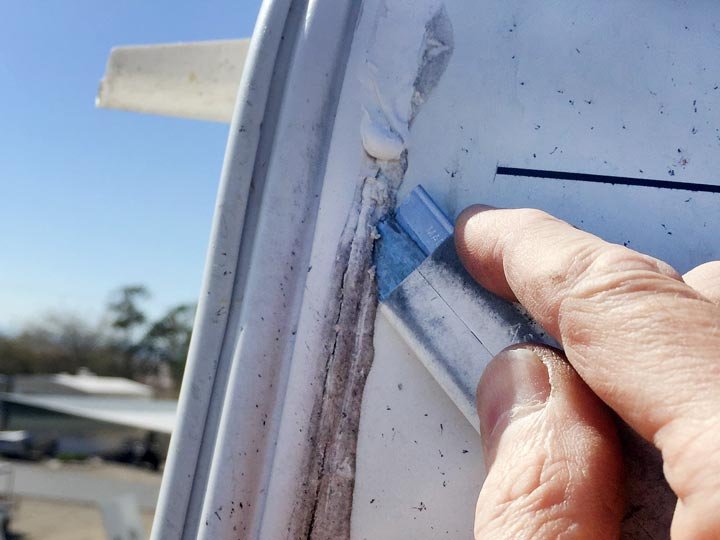
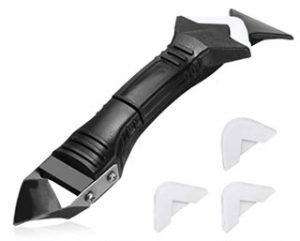 Removing the old sealant comes next. That’s the fun part, not. I found that a caulking tool set is helpful for removing old Dicor. Dig the pointy end of the caulk remover tool into the sealant. Firmly push it along while wiggling the handle. You’ll quickly learn how hard it is to remove old dicor.
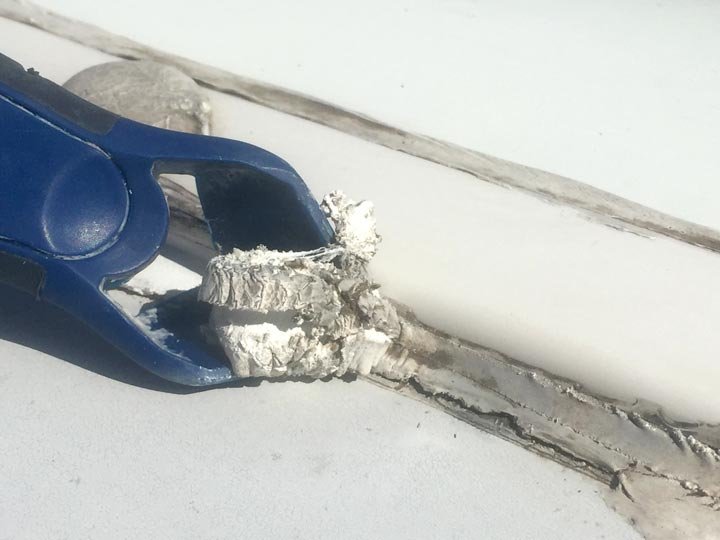
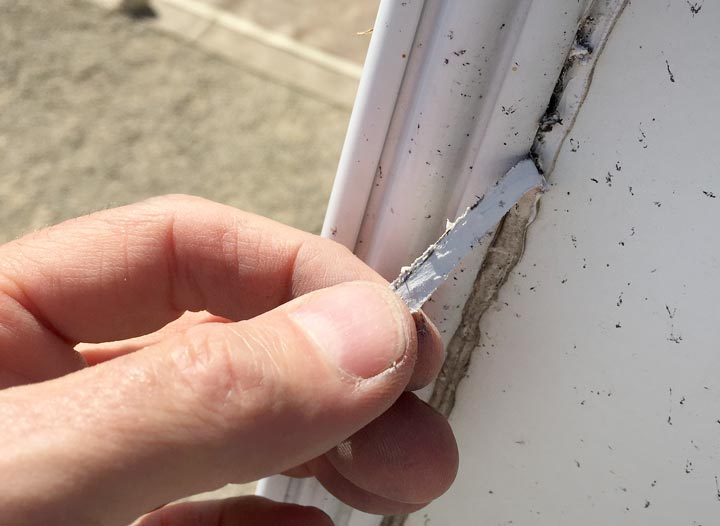
Here’s another tip that requires a gentle touch. Use a utility knife or razor blade to split the bead of Dicor. Place the blade into the seam at a 45 degree angle. Slowly and gently pull the knife, trying carefully not to slip and cause a large scratch, like I once did.
Patience and pressure makes a big difference here. Make another slit in the seam at an alternat 45 degree angle. You can then use the caulk removal tool much more easily to remove large sections of old Dicor.
Next, thoroughly clean the area along the entire seam. Alcohol works best. You don’t want to use any solvent, as that can destroy your finish. And cleansers don’t work very well.
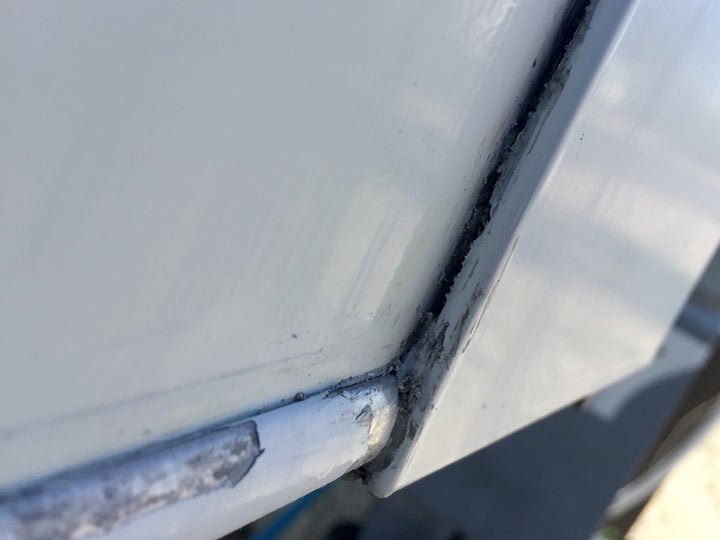
In difficult spots with lots of old Dicor, I have used a plastic dish scrubber with the alcohol to remove it. Just be careful not to scratch to deeply. Soak an old sock in alcohol and wrap it around your finger. Use plenty of elbow grease, and take on small sections at a time.
Be careful where you put those long strips of gooey gunk, and where you step. Just let them fall, and you’ll be wearing Dicor on the soles of your shoes for weeks.
Once the seams are clean, you’re ready to apply new sealant. Did I mention you may want to stock up on Dicor? Order more than you think you’ll need. Chances are, you will run out before you finish the job.
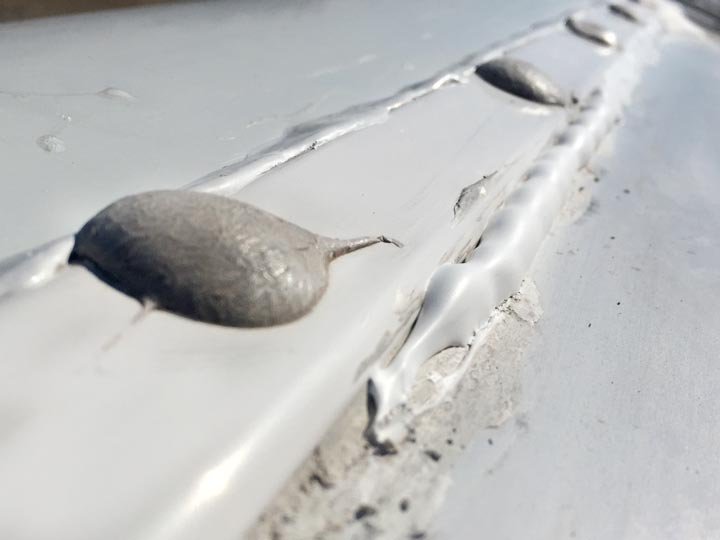
Get the non-leveling non-sag lap sealant. This will keep it from dripping down the sides when sealing your RV exterior walls.
Apply new Dicor as you might caulk the bathtub, but do not use caulk. I watched the finishing crew applying Dicor, and knew that I’ve been doing it right all this time.
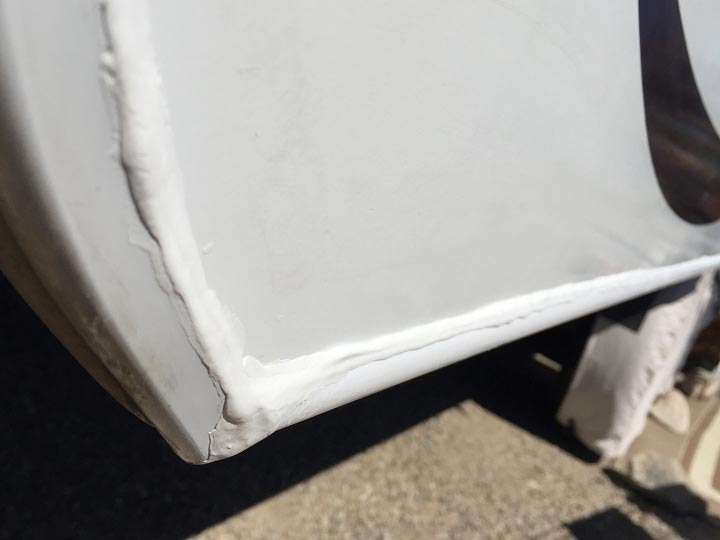
I watched them apply an ample bead along the seam. Then use a moistened finger to mold the sealant slightly to ensure it fills any gaps. The crew was using gloves, and had a spray bottle, presumably of alcohol or soapy water. This allows you to easily glide your finger over the sealant without getting Dicor all over your fingers. They also used latex gloves. I don’t bother.
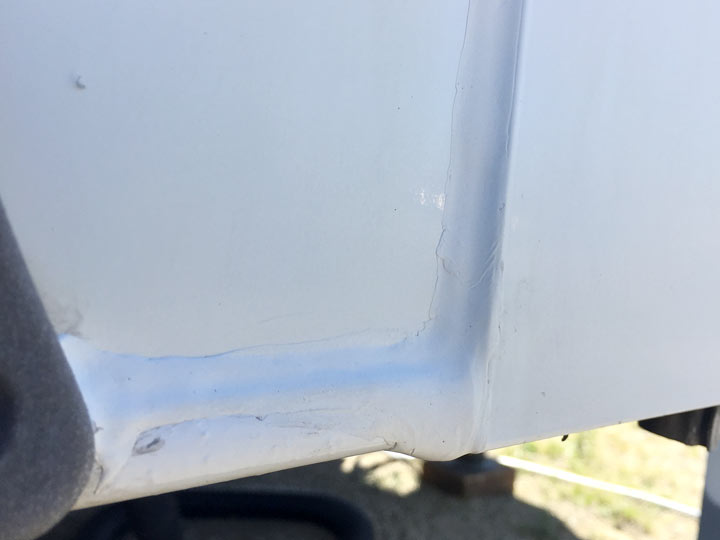
Maintain good seams by frequently applying new Dicor Lap Sealant on your exterior siding and you should never have to fix RV delamination.
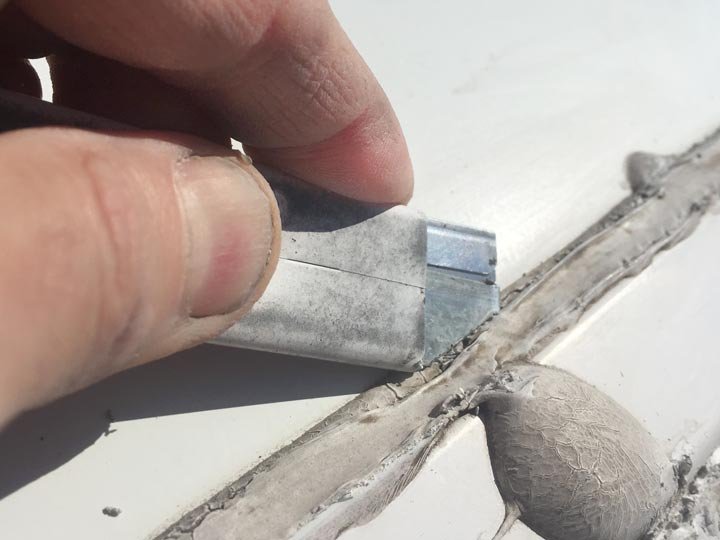
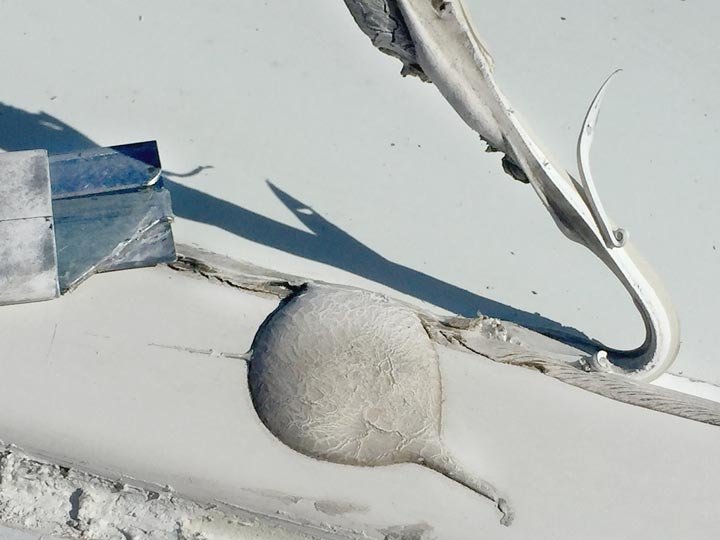
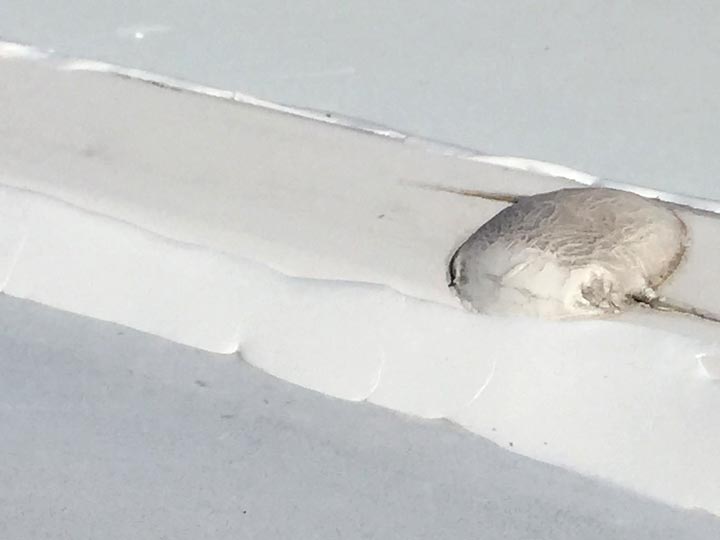
I have an AF and this subject just never has been on my To-Do list, so thanks for putting it there…heh. I posted a pointer to this over on IRV2. Very detailed instructions but what were those blobs of Dicor for that you show 4 photos up?
Those blobs of goop are covering up screw heads, where moisture can also seep in. Thanks for sharing!