There are likely certain RVers out there who may be intimidated by attempting to do their own RV plumbing repairs. That is understandable, however, considering the urgency of fixing any water leak in your RV – and the going shop rate at most service centers – if that describes you, you’ll be happy to read this.
What is the easiest RV repair?
I would argue that replacing the kitchen or bathroom sink in your RV is one of the absolute easiest repair jobs you may ever need to do. And if you live and work on the road full-time, you will need to do it – considering the quality of most standard RV plumbing fixtures. In most cases, the job will not even require any tools.
The hardest part of replacing your sink may be squeezing in tight spaces to reach the plumbing up inside your cabinet.
How to Replace RV Bathroom Faucet in 3 Easy Steps
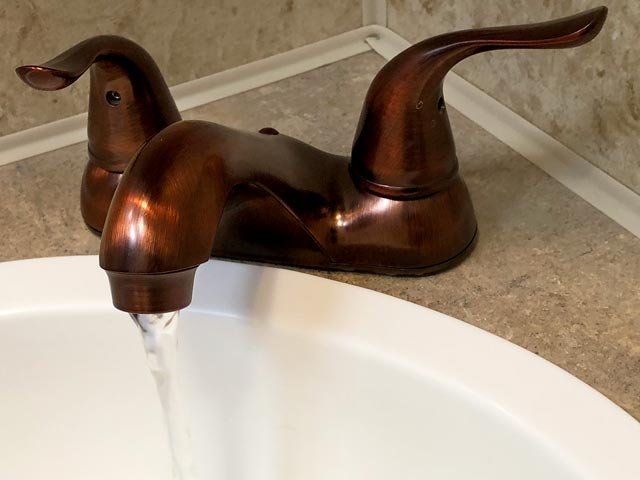
As soon as you notice any sign of leaking water, investigate immediately. Once we discovered the cheap plastic faucet in our bathroom was slowly seeping at the base, I confirmed there was moisture below and quickly purchased a high quality replacement RV faucet. Do yourself a favor, spend a little extra and get yourself a brass faucet fixture.
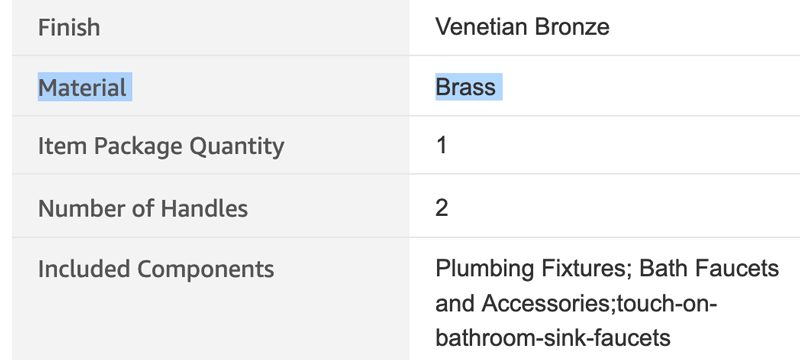
Most inexpensive cheap RV faucets are just that, cheap. They have a faux metal finish, and all plastic interior components. I was happy to find a stylish brushed copper fixture constructed with brass fittings.
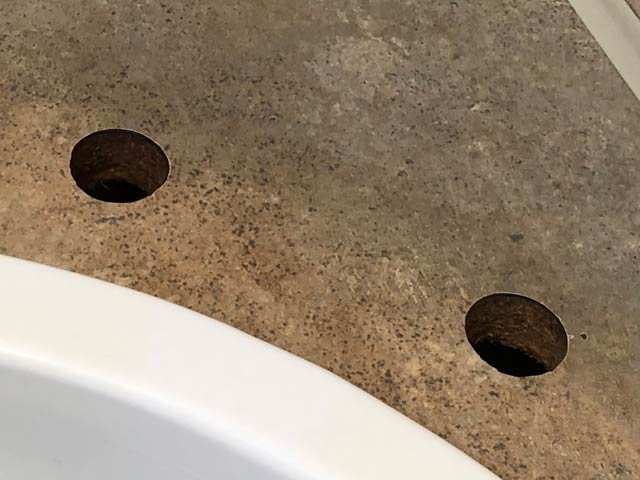
TIP: Most RV bathroom faucets are two-hole, four-inch OC (On Center) fixtures that can be replaced with the same size residential faucets.
NOTE: Before starting any RV plumbing job, turn off your water supply at the source! Shut off your hose o water pump and release pressure in the lines by opening both faucet handles.
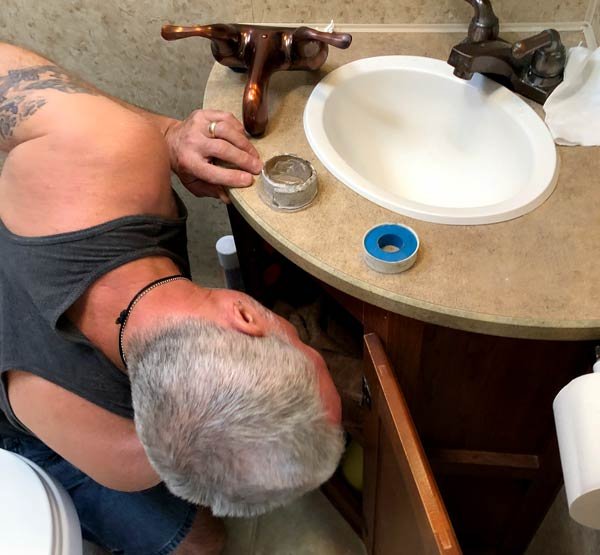
1. Remove old faucet.
Most RVs have flexible Pex plumbing with affixed threaded connectors. Unscrew the connector from the end of both hot and cold fittings under the mounted faucet. Have a towel ready to absorb any remaining water in the lines.
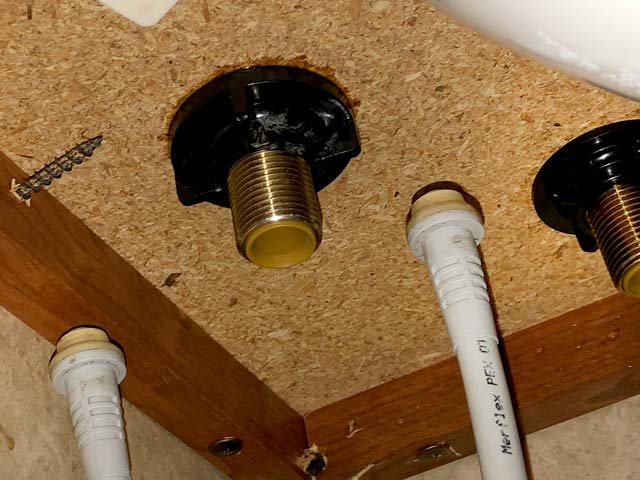
Once loosened, the connector will slide back along the Pex tubing. Most RV plumbing connections are, or should be, hand tight. If necessary, use a wrench or channel lock pliers to loosen connections, but never over-tighten plastic fittings.

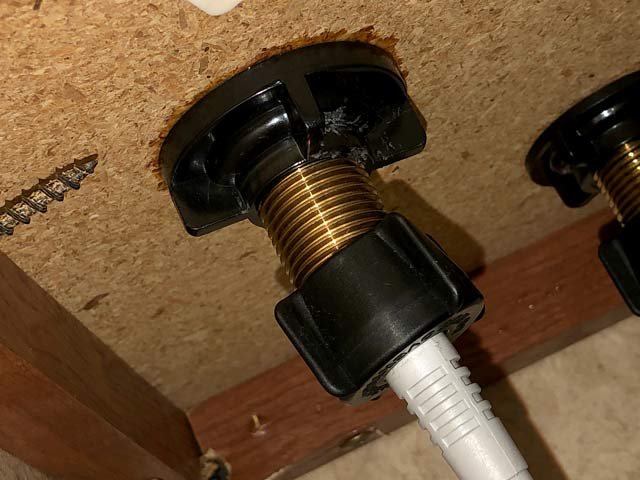
Remove the plastic retaining nuts from the threaded faucet water supply pipes which hold the fixture in place.
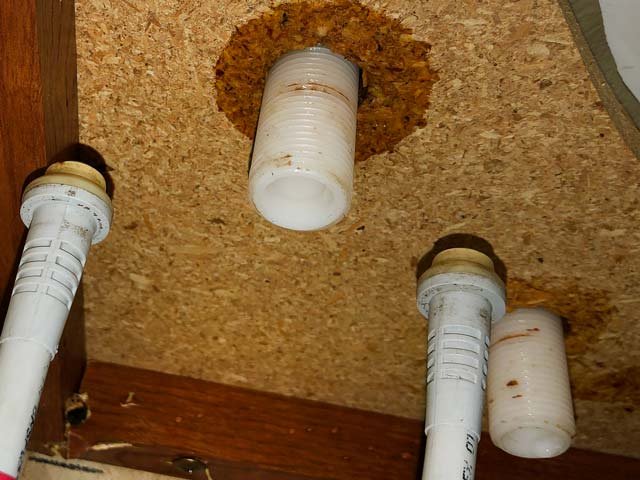
The faucet can then easily be lifted out from above.?
2. Install new faucet.
Inspect for any water damage, clean the surface and insert the new faucet into the holes after removing the retaining caps, if attached.
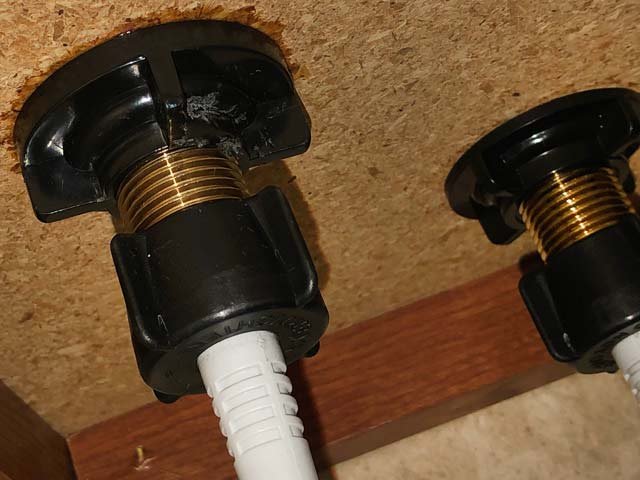
Secure the fixture in place by tightening the retaining nuts. Insert the water supply lines to their corresponding sides. You remember which one was hot, right?
Slide the Pex connectors up and tighten them onto the fixture, seating the supply lines firmly in place.
OPTIONAL: To ensure an effective seal of the plumbing connections wrap Teflon Pipe Thread Seal Tape around the threads of both brass fixture fittings prior to tightening the Pex retainer nuts. For ease of use, apply tape before mounting faucet into place. I also applied a thin layer of Plumber’s Putty Tape under the faucet fixture to prevent splashed water from seeping under the fixture. (Thanks to Larry for suggesting this addition.)
3. Check for leaks!
At this point, it may help to have someone turn on the water supply for you while you inspect your work carefully – like I should have done…
Check your work!
Do yourself another favor, and double check your connections before turning the water back on. If the connectors are not seated properly, panic may ensue.
Also See:
How To Get Free RV Kitchen Faucet
Top 3 Tips To Replace RV Bathtub
Can you think of any easier RV repairs?
I’m not commenting, I’m actually trying to find out how to fix the leak under the kitchen sink in my 2002 Keystone Montana Big Sky 5th wheel.
I have never owned an RV before now and know nothing about them, except the leak is impossible to actually locate under there!
Can someone please help?
1. Determine is it’s leaking from the supply or the drain: Fill sink with water while watching and feeling around supply lines. Turn off water and feel around all drain connections.
2. Replace/repair faucet connection, or re-seat/repair drain connection, as per need determined in step 1.
Hi Jim,
HELP!!!! Any suggestions for getting the plastic retaining rings off of the old faucet. I’m a woman who travels by herself in a 28′ Forest River Georgetown. I don’t have the upper body strength given the angle, shelf, and lack of space. I even had a man try to turn them, unsuccessfully. I’ve tried to using a wrench, vice grips, WD40 and banging on them. I even tried going down from the top through faucet handle. I’m totally out of ideas and hate to pay someone just to turn a couple of rings when I know I can do the rest of the job.
Bummer! Those can be tricky for sure. If you’re tossing the old faucet anyway, I’d destroy it to get those rings off. Try busting the plastic pipes off with a screwdriver or pliers from below or with a hammer and pry-bar from the top. Good luck!
they do make a wrench that fits that type of nut check Home Depot, I have seen them online on Ebay and Amazon they have a long handle that will fit up in and around the nut makes it easy for hard-to-reach places
Thank you for such accurate, easy to follow information. I’ve been unable to sleep worrying about my bedroom RV
slide that appears to have disengaged from the track ( out of alignment) I’m going to attempt to do the repair myself as soon as the sun rises. You’ve given me confidence and I can’t thank you enough. Bless you. I’ve been living full time in my 2007 Four Winds Hurricane since 2015 and things happen over time. Peace and praise to you. I’ll be in touch.Jon Palmer in laurel MD.
Awesome, glad to be of help J’on. Let us know how it works out for you and congrats on tackling this project!
Jim,.
Is there a reason you didn’t recommend using teflon tape on the brass threads?
Only that I felt I was getting long winded again. You’ll see a roll of Teflon tape on the counter in my first photo, along with some Plumber’s Putty Tape which I added under the faucet fixture to prevent splashed water from seeping under the fixture.
Nice catch! I actually did consider adding this info, and may edit the post now. Thanks.