Spoiler alert: the easiest RV repair is another quick replacement. I’ve written here before that the easiest RV repairs are often replacements. See my water pump repair post and faucet replacement tips as examples. This time, we considered repairing the RV microwave. Then Rene did her homework…
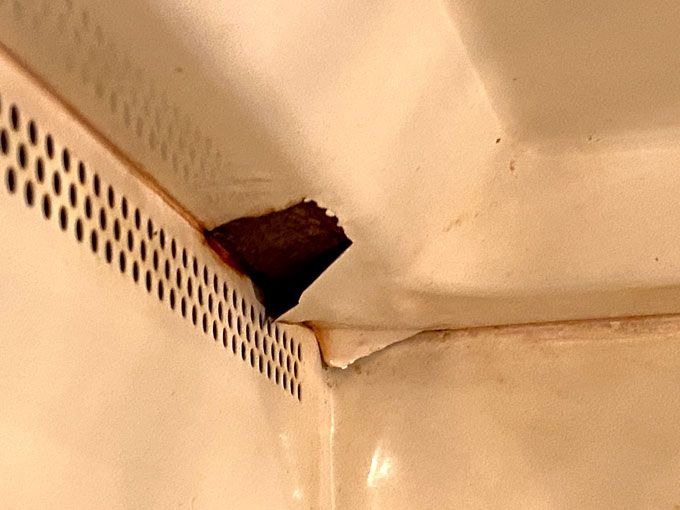
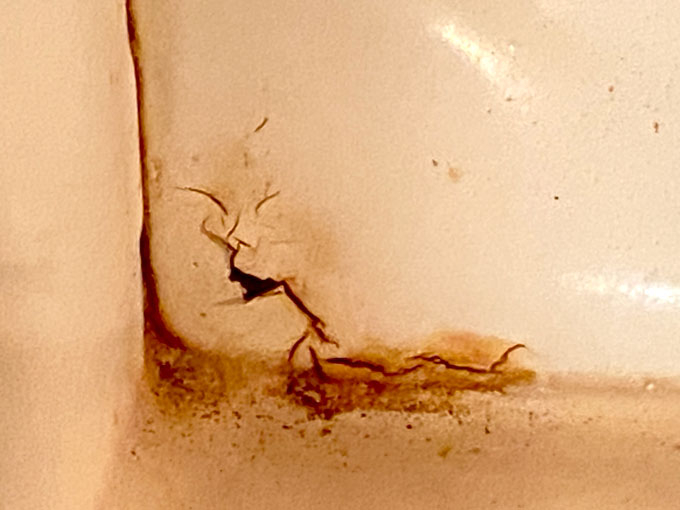
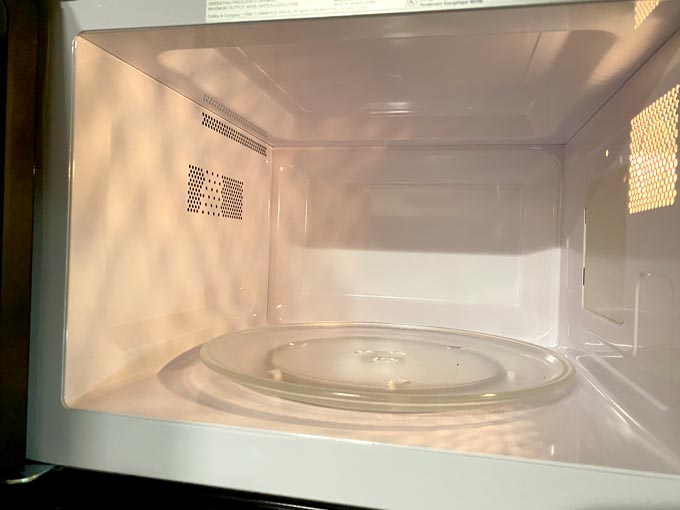
Our RV microwave is at least 12 years old. Over the past year or so, we noticed a crack in the interior slowly getting worse. The lining was starting to peel up, exposing rusty metal. We never once noticed any sparking, or saw any other scary symptoms. But we realized this could not be a good thing.
How to Repair RV Microwave
And why you may not want to…
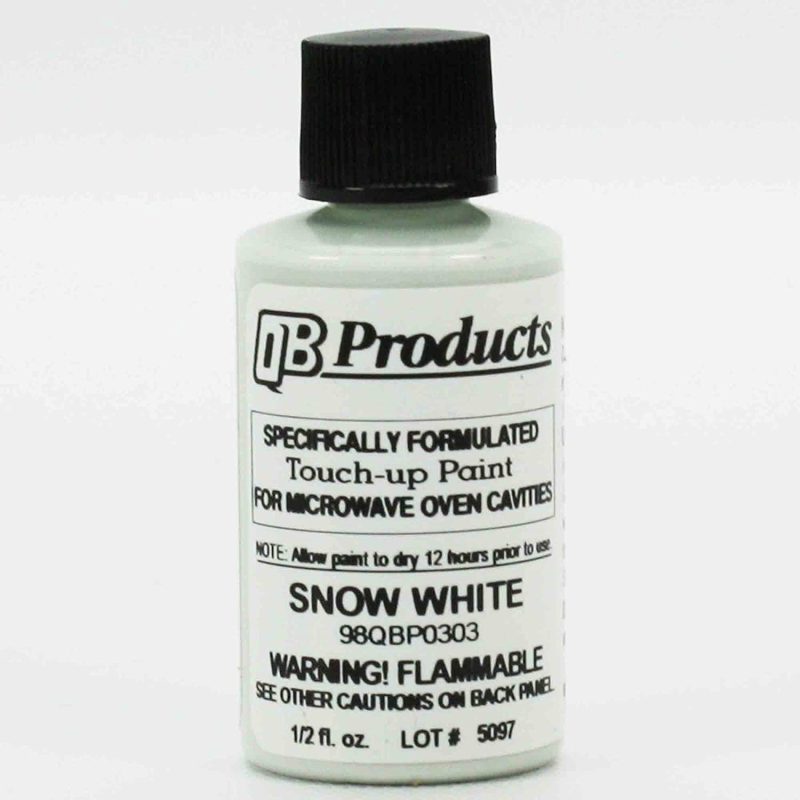
The second easiest RV repair might just be to repair a cracked and peeling microwave. I immediately suggested we simply replace the microwave. I knew that would be even easier. But Rene is even more frugal than me. She searched for a cheap fix, and discovered Microwave Oven Cavity Touch Up Paint. Neat! I though that should be easy enough…but I had questions. What kind of prep would it take to do the job? How long would it last? And is it really safe?
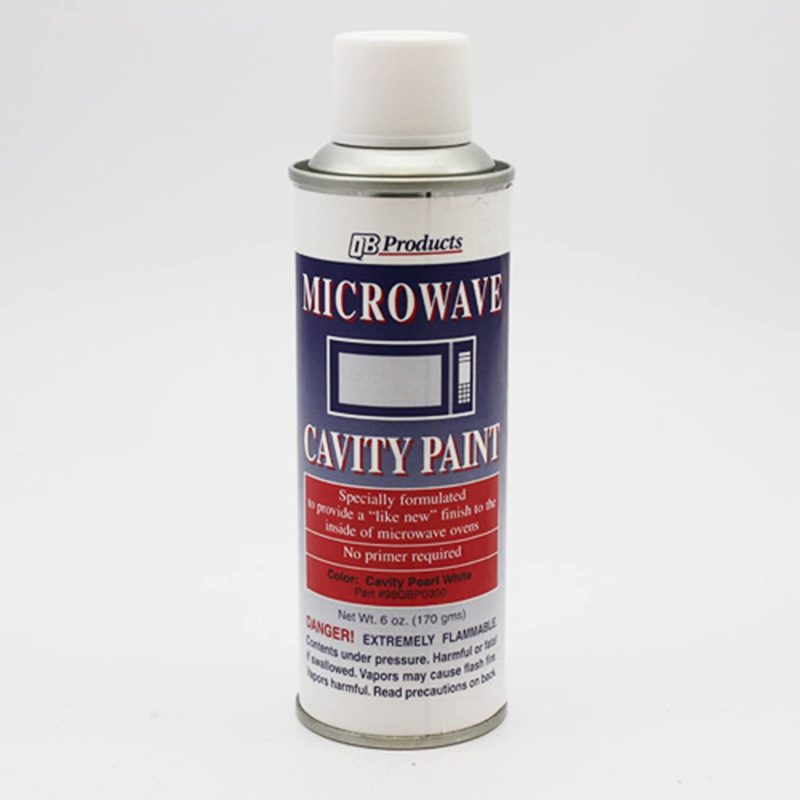
The jury is still out on the safety of microwave paint. Many believe it is a simple repair and perfectly safe. Others disagree. I’m sure if done correctly and thoroughly, there would be no harm. But I knew the job would at least entail some scraping, sanding, and painting ??inside the tight box, mounted above our stove. Then Rene also found Microwave Cavity Spray Paint.
Yes, using microwave cavity repair paint is much cheaper than buying a new appliance! But I’ll let you determine if its the right choice for you. We finally agreed to replace the microwave. That decision made this our easiest RV repair yet.
Easiest RV Repair: How to Replace Microwave
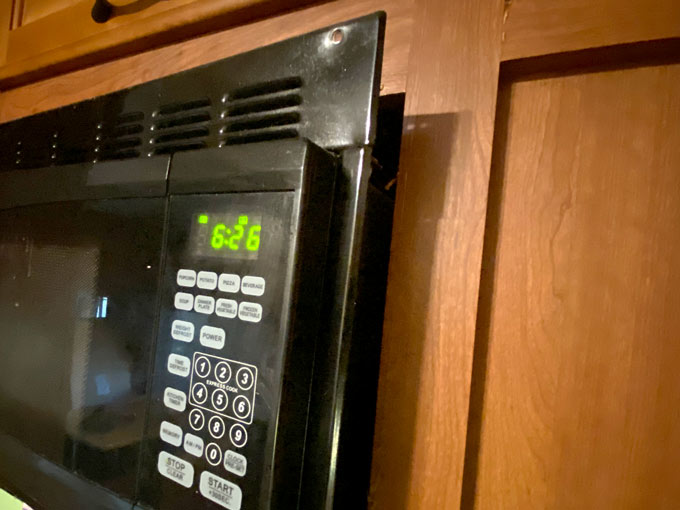
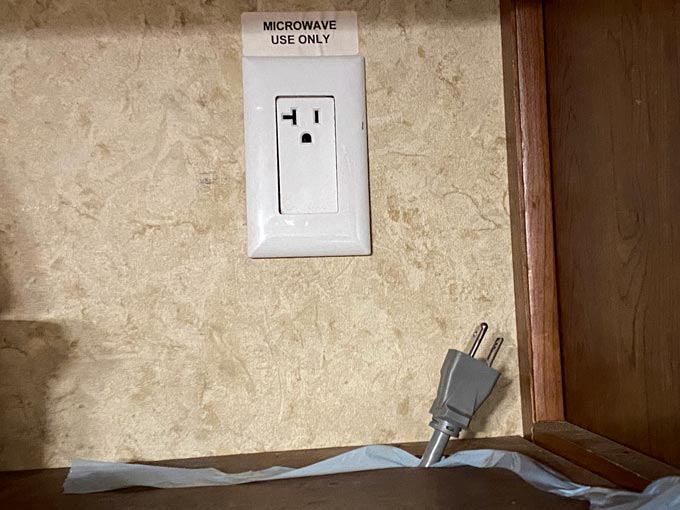
I can now honestly say that replacing the microwave is one of the easiest RV repairs. That is because in most RVs, the microwave simply sits on a shelf in a cabinet. The attached face plate keeps it secured in place. And, it is plugged into its own outlet, so there is no electrical wiring to deal with.
The job is easy, that is, if you know the size of your microwave. To be specific, You must know the size of your RV microwave cabinet and opening. The best way to make this the easiest RV repair, is to purchase the exact same microwave. If yours is anything like ours ? and many other RVs ? the High Pointe RV Microwave Oven will fit:
- Dimensions: 19″ W x 11.375″ H x 14.8″ depth.
- Cutout Dimensions: 20″ W x 13.25″ H x 13.5″ depth.
- Trim Ring Dimension : W 20 9/16″ x H 14 7/8″
Simple Steps to Replace RV Microwave
Unscrew the face place to release your microwave from the cabinet. Locate the outlet powering your appliance and unplug the microwave. The outlet is likely in a cabinet above or next to the microwave. Feed the cord through its access hole is necessary. Then remove the old microwave.
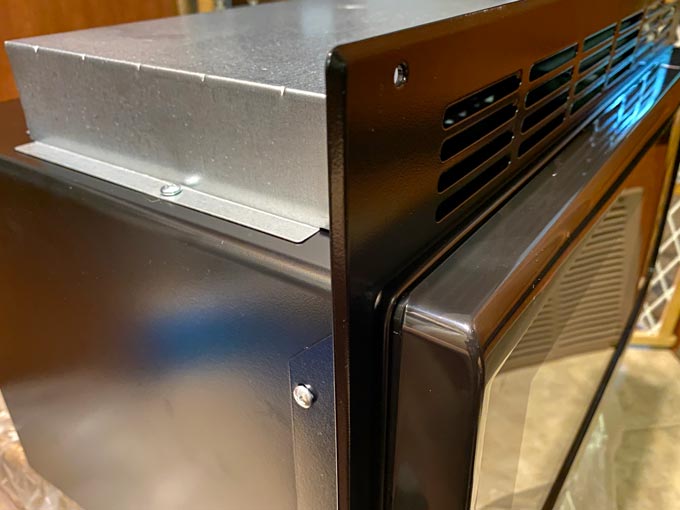
Do not plug anything else into the outlet used by your microwave. The High Pointe and most RV Microwave Ovens come with an included face place and hood vent. These will vent heat out from inside the microwave cabinet. Attach these to the new microwave before putting it in the cabinet.
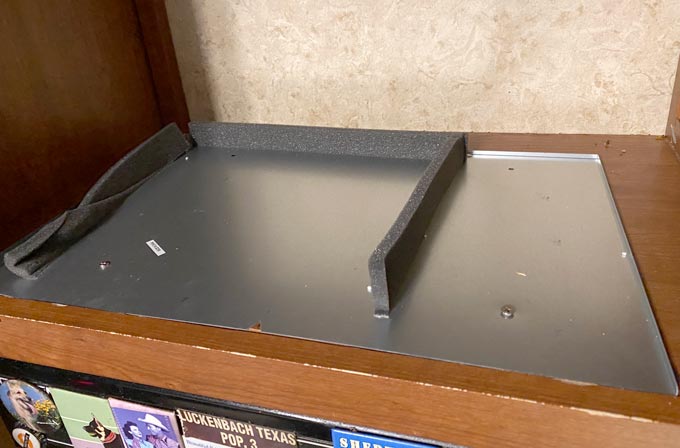
Attach the included base pan to the bottom of the cabinet where the microwave will sit.
Support the microwave in the cabinet while you feed the power cord through the hole to access outlet. Then you can position the microwave on the pan and push it back into the cabinet.
Screw the face plate onto the cabinet to secure the microwave in place. Plug the appliance into the outlet. And there you have it…the easiest RV repair. Or at least one of the easiest.
