Need to to replace 7-pin trailer cord socket? Here’s another quick RV maintenance tutorial for those who like to save a few bucks on simple repair projects. Complete with photos, detailed steps, and a little history…
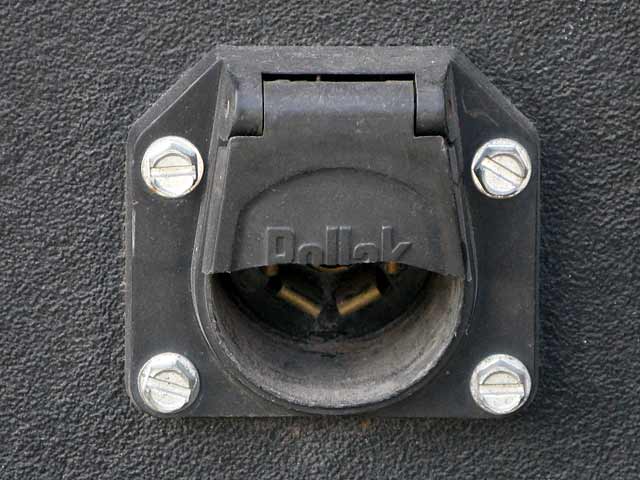
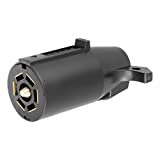
We first wrote about the broken retention cap for our fifth wheel trailer umbilical cord—and how we fixed it on the cheap—back in 2008. I finally decided to replace the 7-pin trailer cord socket in the bed of our Dodge Ram 2500 pickup after finding one amongst the many bargain bins at Quartzsite.
Steps to Replace 7-pin Trailer Cord Socket
If you are even the slightest bit handy with a screwdriver, you can replace the socket for your trailer tow lights/brake wiring harness by following these simple steps.
- Screwdriver and/or Nut Driver
- Wire Strippers
- Needle Nose Pliers
- Replacement 7 pin trailer cord socket
*
*Make careful note of your specific trailer cord socket model.?
1. Remove the four screws securing the socket to the truck bed. Gently pull the socket and cord out far enough to comfortably work on it.
(Travel Trailer Owners: Follow the same procedure for bumper-attached sockets. Fifth wheel owners should always consider adding a socket inside the bed of the truck to avoid having the cord drape over tailgate.)
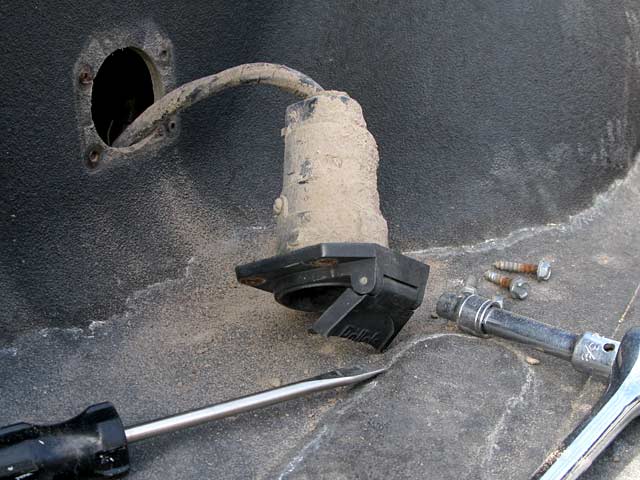
2. Remove two small screws from side of socket, and screw plug securing wires at the bottom to release the wiring harness.
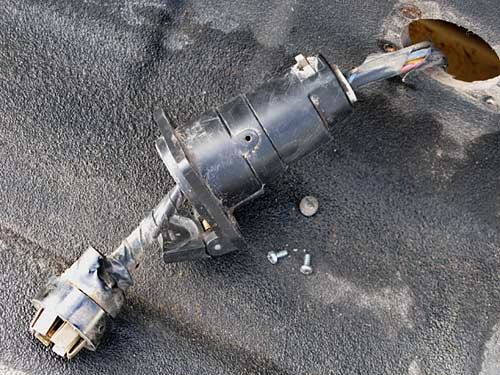
3. The plug assembly should be clearly marked to indicate what color wire attaches to which post.
(Note: If the plug poles are not clearly marked, or different colored wires are used, be sure to mark them carefully or take a photo for reference.)

4. Remove all wires and twist the ends to create firm connections to the new plug assembly. NOTE: Slide all wires through the new socket housing from the bottom before proceeding!

5. Securely attach center wire first to the new plug, followed by all other colors in their corresponding positions.
(Optional: I prefer to make small loops with each wire to guarantee a secure fit and maximize surface area of each connection.)

6. Insert plug assembly with wires attached into the socket housing. Note the position of the notch on the side.

7. Important! Align notch in plug assembly with tab in socket housing and firmly join the two together. They will only fit together one way.

8. Attach plug assembly to the socket housing with two small screws on side and secure wires at bottom with threaded plug.
9. Reinsert the reassembled socket into your truck bed or bumper bracket, and secure with provided screws.
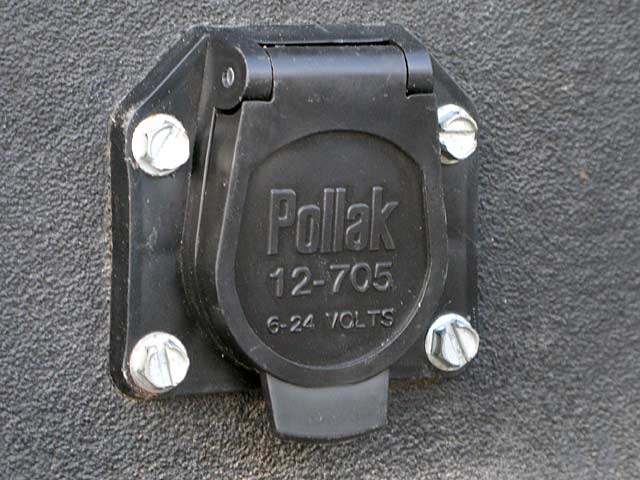
10. Use the spring-loaded outlet cover to secure your trailer cord into the socket. (See what we did to secure our cord for the past few years after the spring broke.)

 Epilogue: Always remember to unplug your trailer cord before pulling away with your truck after unhitching to avoid braking the socket!
Need to replace the 7-pin trailer plug at the end of your cord? That should be just as easy following similar steps.

All the links I went to were old ones, I guess.
Got the book and look forward to all the great info.
Good to see you’re still active. At first, the latest entries I saw were 2009, YEAH
Thanks for the comment Elsie. Where did you see posts from 2009? We post pretty much more regularly than that! 🙂