Here it is! The long awaited video tour of the custom truck camper build I did for our Project M truck pop-up topper from Four Wheel Campers. Many have been asking questions about our new rig. On more than one occasion, someone has stopped us in a parking lot to peek inside. So, check out the video below and scroll down for plenty of photos and details about the build. In addition, I share some tips for saving money on the materials. Finally, I offer some recommendations for making your own DIY truck camper build meet your specific needs.
For more insight about our rig and and adventures, follow The Project M experience for all our videos and photos. \m/
Our DIY Truck Camper Build Shopping List
Dometic CFX 55 DC Power Cooler
8020 Aluminum Profiles or 2″ x 2″ Lumber
T-slot Fasteners or L-brackets & Screws
Recycled Plastic Sheeting (1/4″ & 1/2″)
Water Pump, 1/2″ Braided Hose and Fittings
12″ Bar Sink and Flexible Drain Kit
But first, I’m sorry. I need to apologize. I really wanted to share all sorts of videos to show the progress of how I completed the truck camper build-out for our Project M. Well, we were pretty wrapped up in preparing for our whirlwind trek north to Alaska at the same time. As a result, I only had time to focus on getting the truck camper build done. So, ta da!
It’s time for the grand tour…
Project M: Starting with a Blank Slate
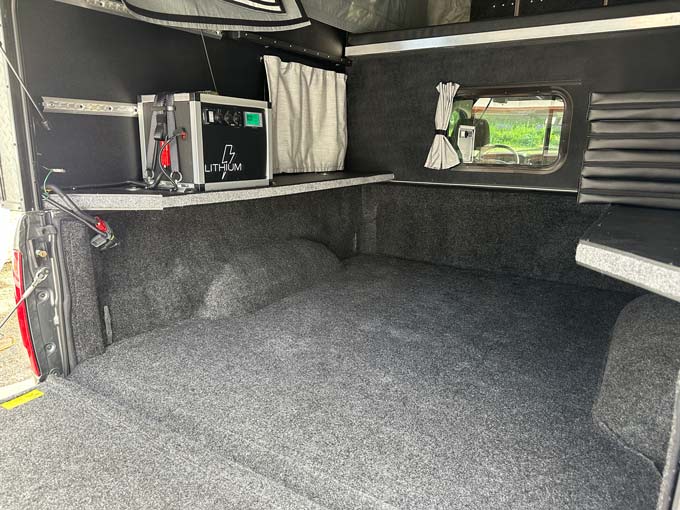
Above you see what we had to work with. Notice how the M provides a blank slate to create any custom truck camper build you can dream of. Later, I’ll follow this up with details and a video about why we put down that Bedrug bedliner first. Spoiler alert: That’s a must-have, and pretty easy install. But on with the tour…
Why Build a Custom Camper with the Project M?
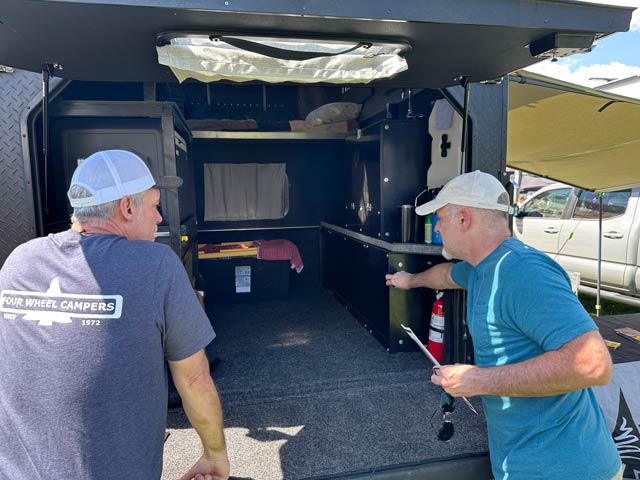
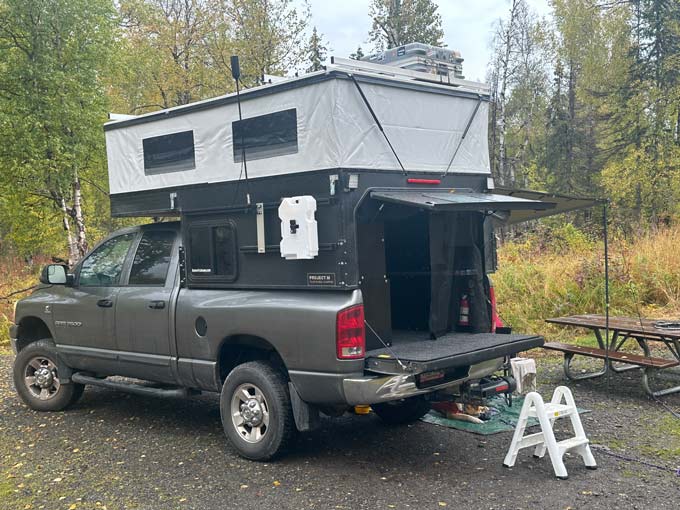
So, why not just buy a camper? First of all, we’ve explained that with our first few Project M videos. But to recap, there is the considerable cost difference, and the incredible weight difference. The Project M pop-up truck topper weighs only 420 pounds! Ultimately, however, the Project M lets you use your truck as a truck. Since you keep the tailgate on, you have access to the bed of the truck. In the first photos above, you’ll see the two side shelves which are an integral part of the truck topper support system.
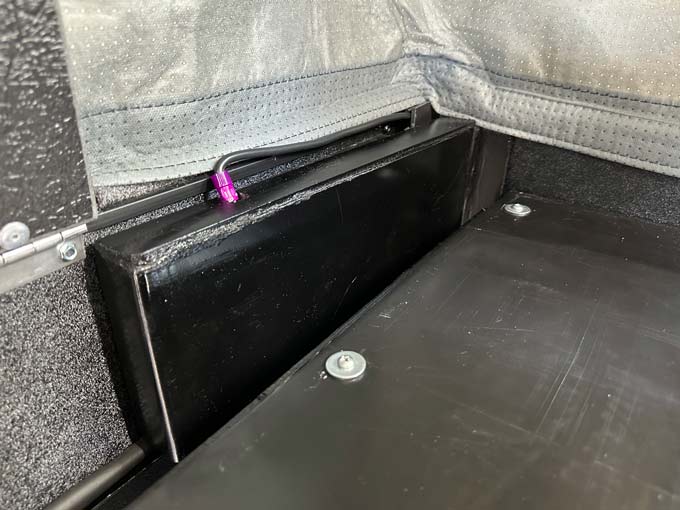
You can also clearly see how this lightweight pop-up camper sits on top of the truck bed, as opposed to a heavy slide-in camper. As a result, that’s why I built separate top and bottom cabinets.
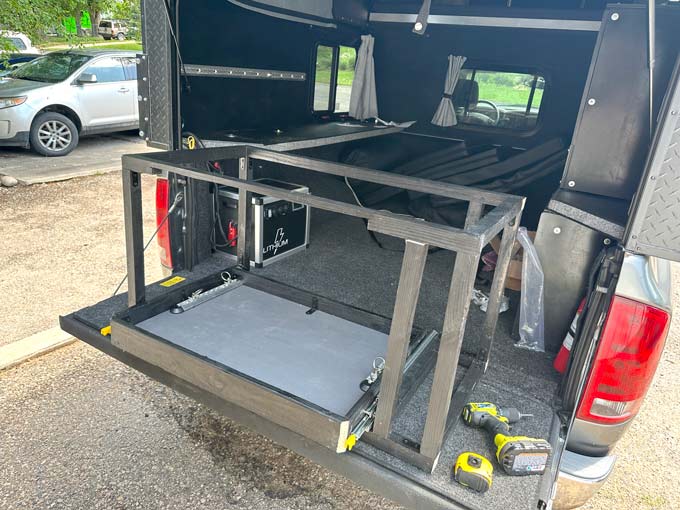
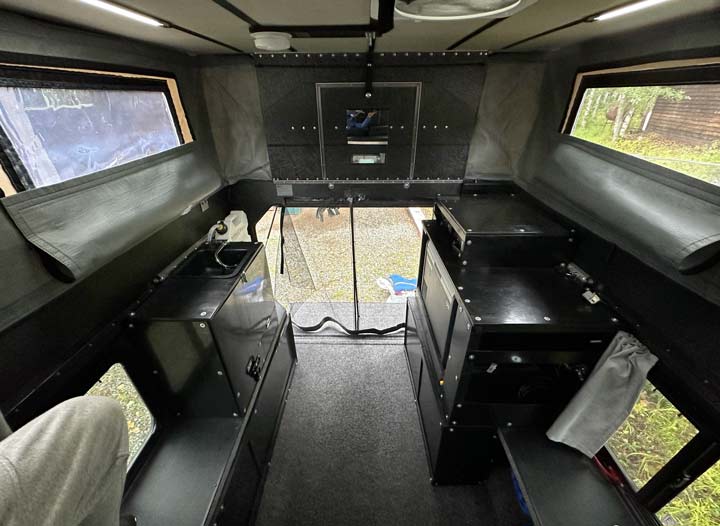
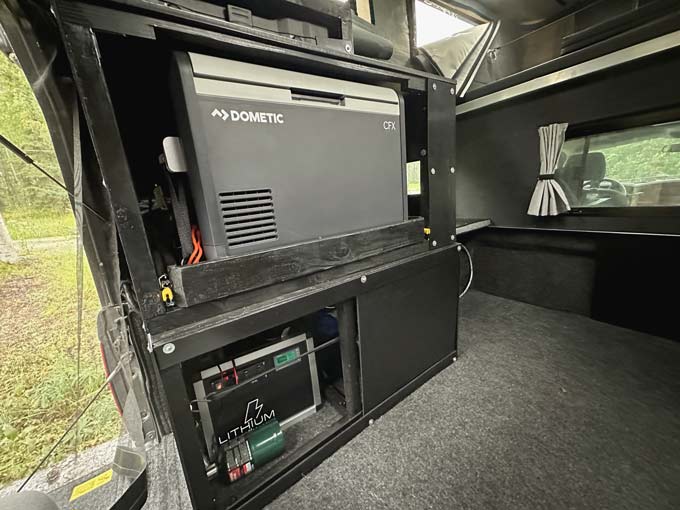
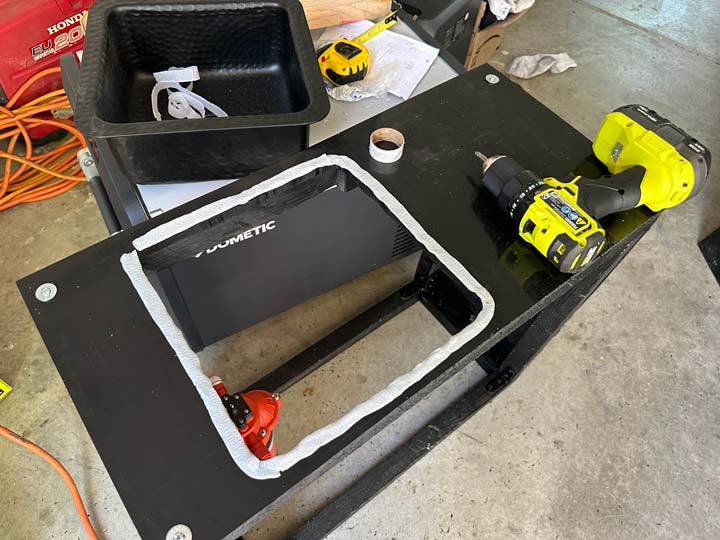
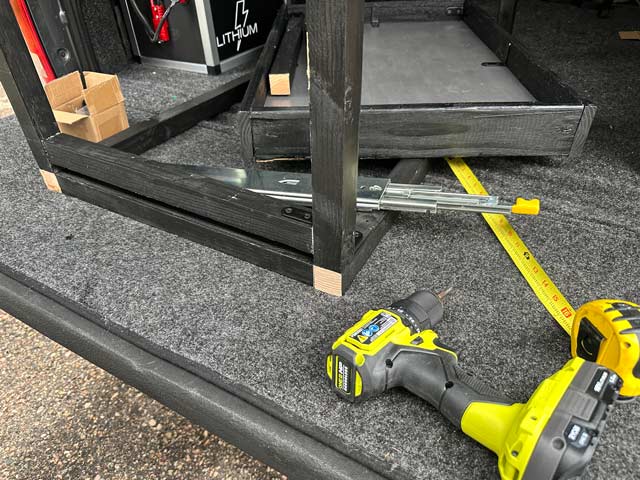
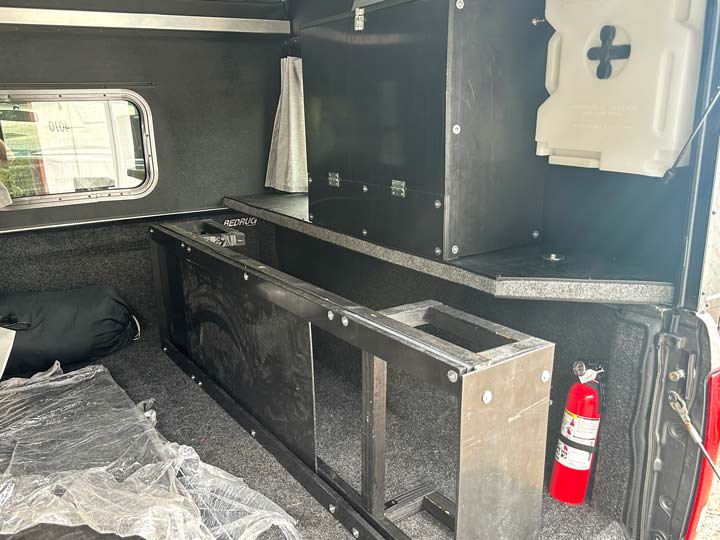
In addition, people use their campers in different ways. We will be living in our Project M for months at a time. Therefore I built a galley and sturdy cabinet for our Dometic DC fridge. See the work in progress above, and scroll down for some photos of the finished build. That is, if a custom truck camper build like this is ever truly “finished”. Sometimes if feels like a perpetual work in progress. But yet again, I digress.
We had a lot of interest in our work in progress while at the Adventure Van Expo. At that time, I wasn’t quite done with the custom truck camper build. But now we have plenty of photos to share, and some ideas for materials and saving money. First, take a quick tour of the “finished” rig with this latest episode of the Project M Experience @LiveWorkDream.
Project M DIY Truck Camper Build Video
I’ve watched quite a few cool videos from others who have built out their Project M, their own way. But, we’re all different. And that’s what I like so much about the Project M. It really is a blank slate inside. And it can be built out any way you like. Or, not at all and it’s still a comfortable pop up camper with a king size bed.
So, in this custom truck camper build-out video, I do my best to detail the options we chose for our Project M pop-up, and how I built it out to meet our specific needs. In addition, I include a slide show at the end for a closer look at how it’s put together
Now, for the nitty gritty details… First, everyone always wants to know: What’s it cost?
How Much Does Custom Truck Camper Build Cost?
Did you catch that part in the video where I explain how I originally wanted to do our custom truck camper build? Watch that again, I’ll wait. Okay, I really wanted to build out our cabinets using 8020 or TNutz. These extruded aluminum profiles are strong, lightweight, and incredibly expensive. Sure, they allow for creating some beautiful projects. However, some of fasteners alone cost more than five dollars, each.
As I explain in the video, you really need to know your entire design and precise measurements for all components when estimating a project using 8020 or TNutz. So, I played around with some rudimentary CAD work. And, I quickly came to the conclusion that we would not be using any of that. My rough estimate put our build-out for the cabinetry alone around $3,000. And that is after I found a source the cheapest T-slot profiles on Amazon.
It was simple math. Four 24″ pieces of T-slot profiles cost nearly $70. Or, I could get one 8′ stick of 2″ x 2″ lumber for about six bucks.
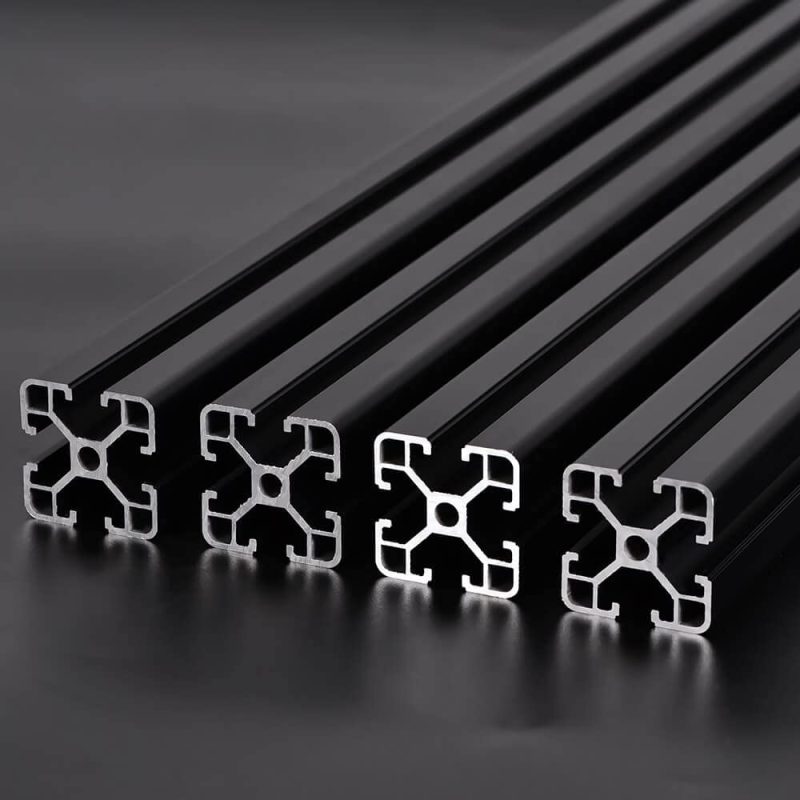
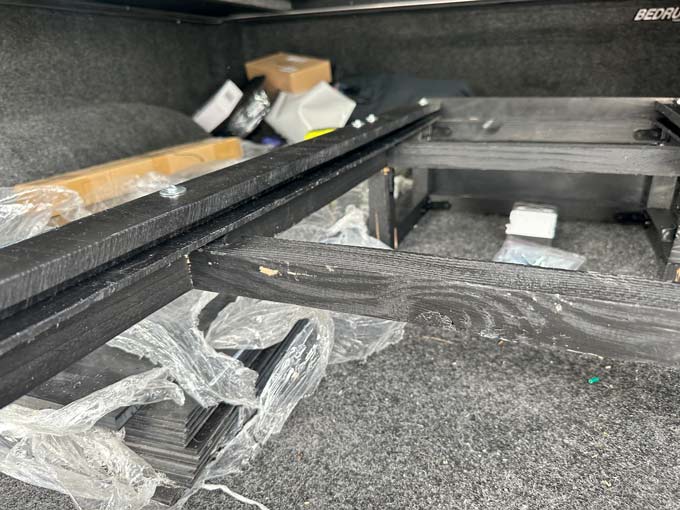
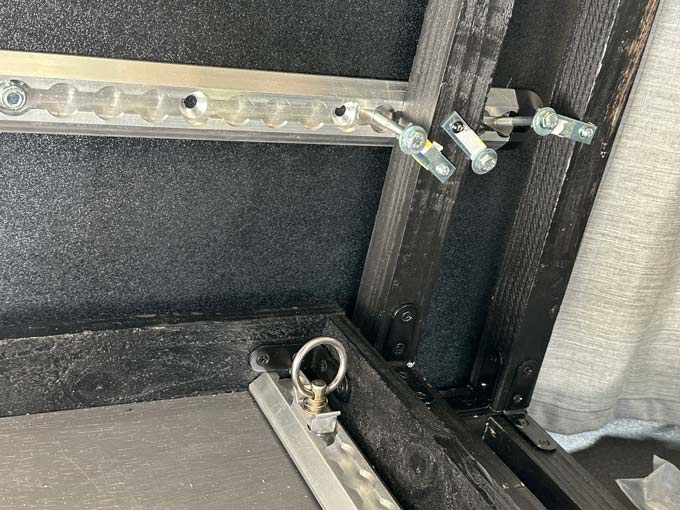
So, I built all our cabinetry using 2″ lumber. This way I didn’t have to worry about throwing money away with the waste. In addition, I found a 20-pack of L Brackets for just $16, so I only needed a few of those. Besides, they’re black. And I wanted to do everything in black.
What Materials to Use for Truck Camper Build
With the framing figured out, i had two ideas for skinning the cabinets. One was to use black Diamond Plate sheets to match the exterior of our Project M. Rene was worried the edges may be too sharp. Or, maybe that was too man cave. Regardless, my other choice was to use recycled plastic sheeting. But it was hard to find a US manufacturer. TAP Plastics couldn’t verify the post consumer content of their recycled sheeting. I did discover Yemmhart Origins which is some beautifully colored plastic sheets with that definite recycled look. But it would have cost more to ship it than the materials alone.
And then, I finally found 100% recycled plastic sheeting from Legacy Innovations. And they were only four hours north of us in Wyoming. In the heart of oil country, this small company grinds up old plastic pipe. Then, they extrude different thicknesses, and they cut to size. It was well worth the road trip.
As a result, I skinned all our cabinets with recycled plastic sheeting. Combined with the lumber and fasteners, we did our whole custom truck camper build for less than a thousand dollars. And, that includes the perfect little bar sink I found for our galley.
How to Build DIY Truck Camper Galley
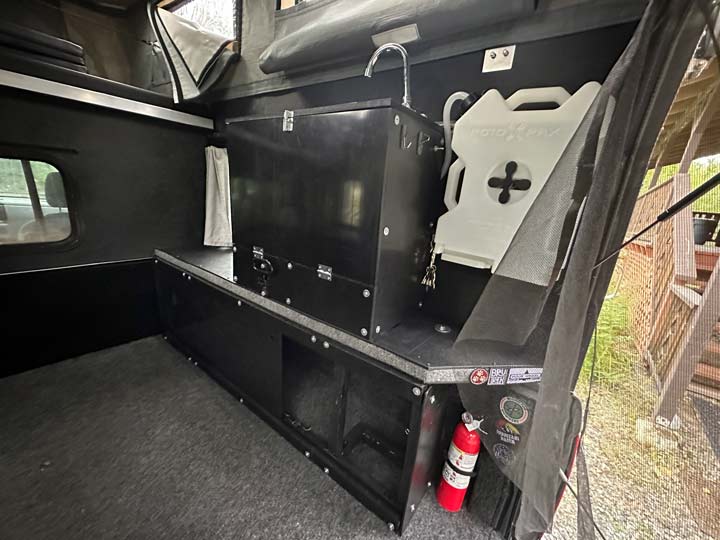
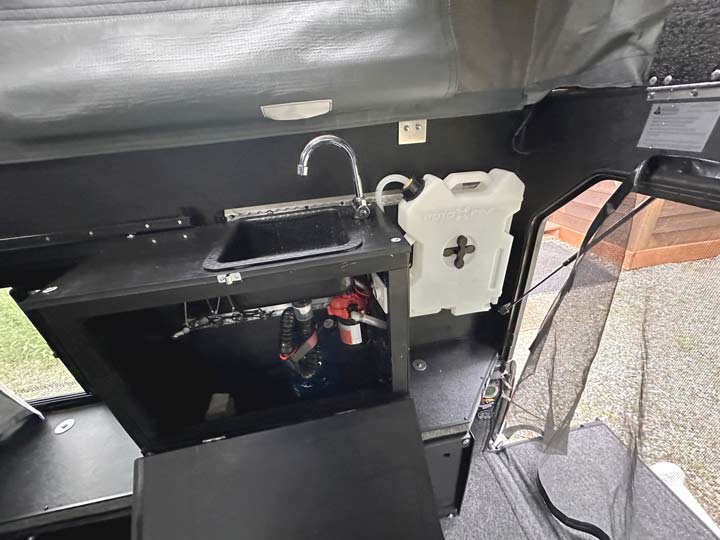
When I first noticed the interior cargo rails option for the Project M, I immediately thought of mounting a RotopaX container to use as a water tank. We have two RotopaX for diesel fuel mounted outside the rig. So, we got two of the white RotopaX Water Packs to match. I mounted one inside, with a standard mounting bracket. Then, I mounted an aluminum plate to the exterior rails we have on the driver’s side of the M. To that, I attached the other water pack with a locking RotopaX mount.
I just couldn’t bring myself to buy the cheaper rotopax rip-offs, though it was tempting.
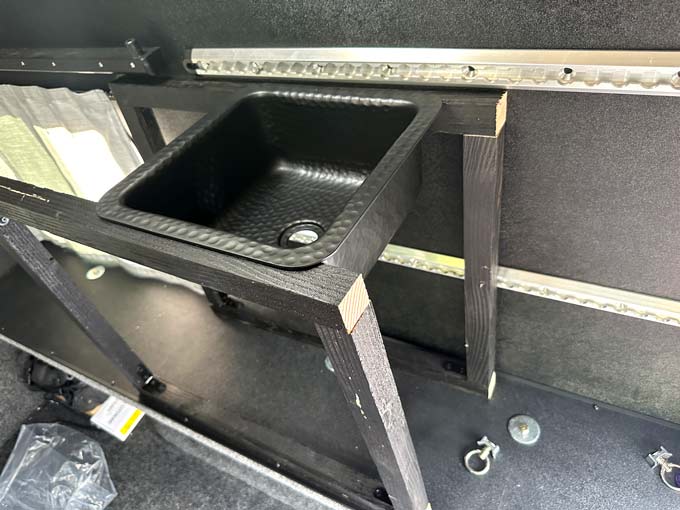
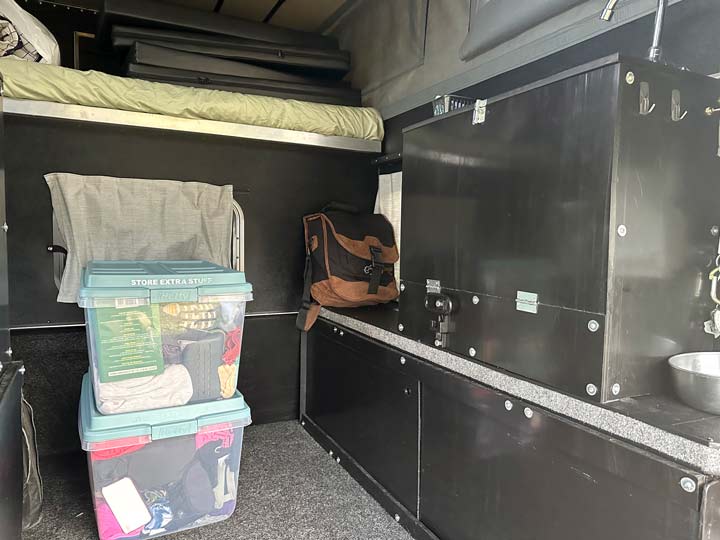
DIY truck camper water tank, check. I say I found the perfect little bar sink, because it is small, it is square. And, it’s black. This stylish bar sink has a hammered black finish, and perfectly fits the galley cabinet I built to fit our M. Then, I found the perfect sink drain for any truck camper build. This bathroom sink drain kit has a flexible and expandable downspout. It also includes the pop-up drain stopper. We run the drain into a one gallon jug beneath the sink. Our RotopaX are two gallons, so we have never had the jug overflow. We can easily tell when it may be getting full.
Plumbing Our Truck Camper Galley
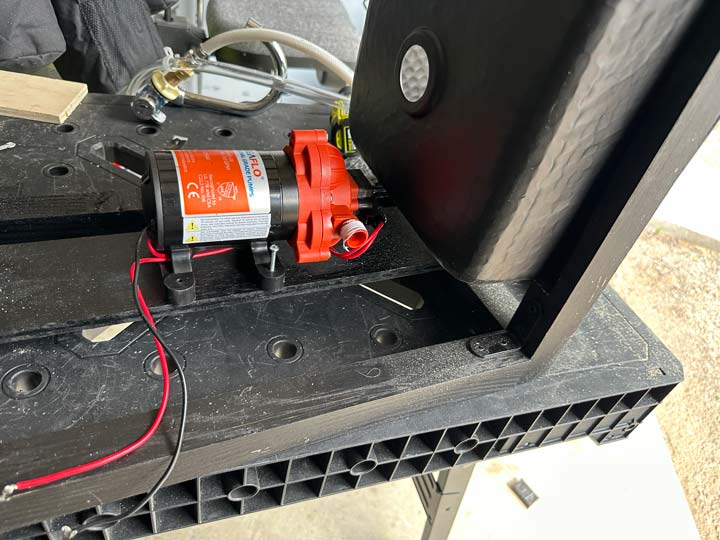
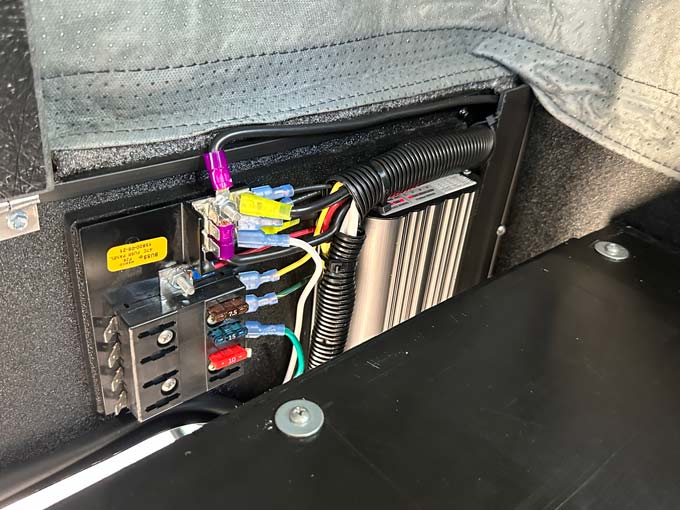
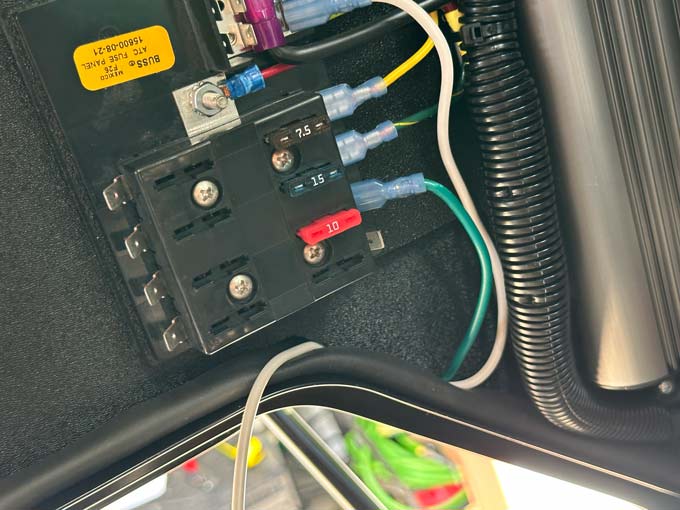
Finally, I found the best RV/marine water pump to meet out needs. The Seaflo water pump is self priming, strong, and nearly silent. I attached its rubber mounts to a board inside the cabinet. I ran DC power from the Project M fuse block, and installed another 12v DC power outlet while I was at it. Then, I quickly discovered we needed some high pressure braided tubing. The Seaflo pump is so strong that it collapsed the clear vinyl tubing I first used.
And then, with a 10-pack of 1/2″ fittings and a few hose clamps, I plumbed in the perfect little RV faucet. Without any hot water, we only need a single handle faucet. So, I found this cold water RV faucet that folds down and rotates. I only needed the 1/2″ faucet connector to get the job done.
Finishing Touches for Our DIY Truck Camper
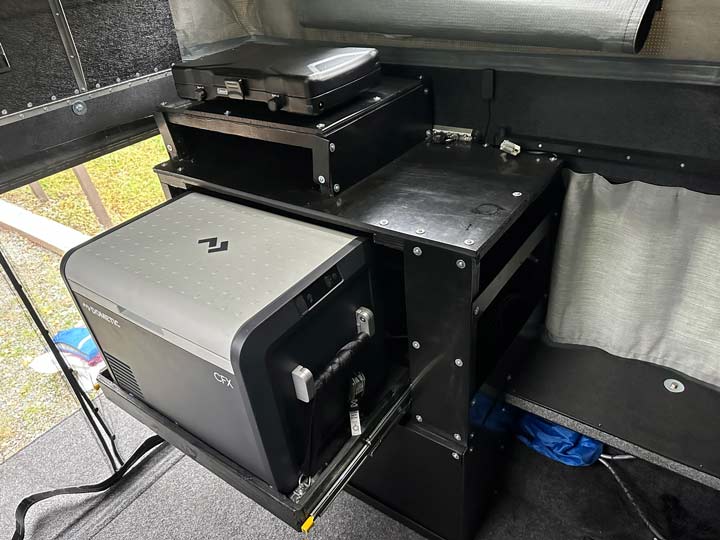
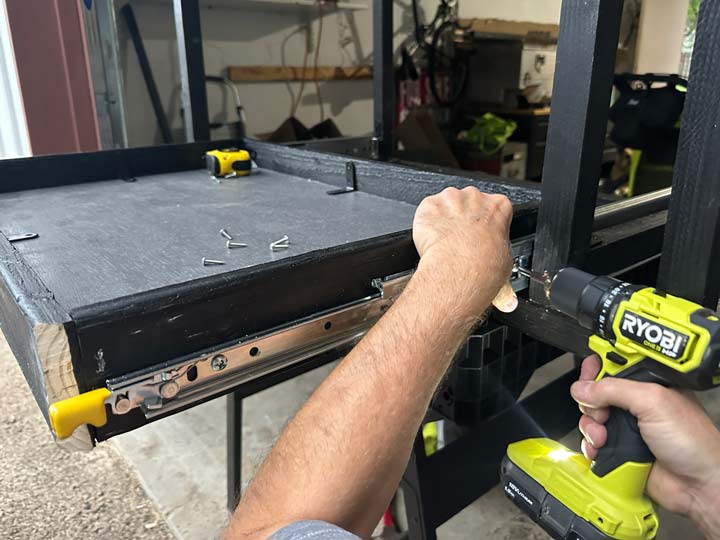
Next, our Dometic CFX 55 DC Fridge weighs nearly fifty pounds. So, I built a sliding shelf into the cabinet on the opposite side from our galley. Ultimately, I knew these heavy duty drawer slides would do the trick. On top of that, I added a small cubby for the 2-burner Coleman stove we got. this runs off the small green propane bottles. But we also got a 5′ gas hose adapter, since we may mount a bigger propane tank to the back of the M.
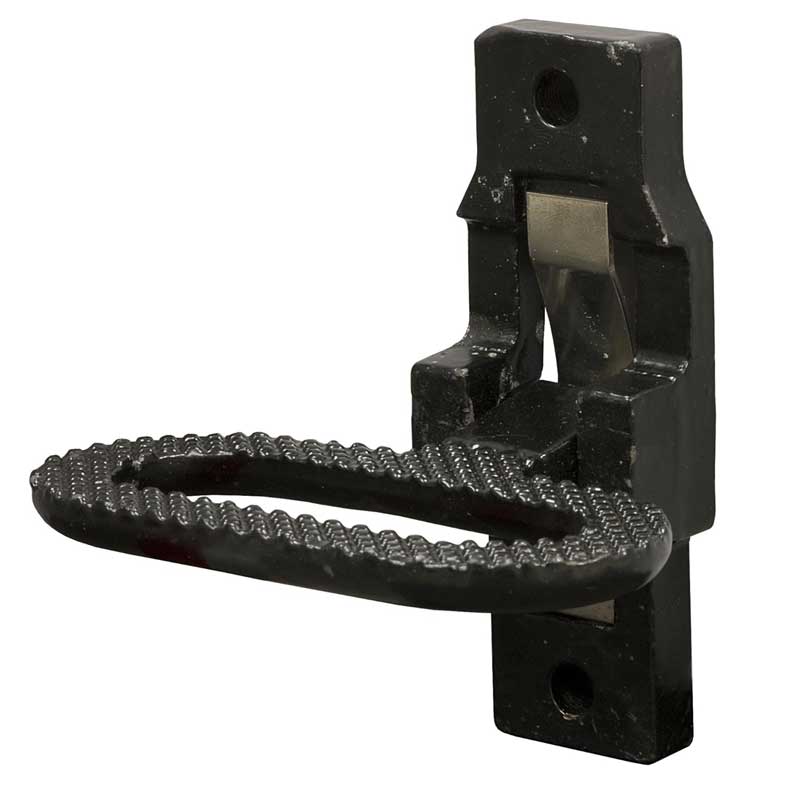
One thing I didn’t point out in the video, is one of my favorite finishing touches. This heavyweight folding step is perfect for hopping up into bed. I mounted it to the frame of the cabinet I built, so I know it’s pretty sturdy. It folds up out of the way, and yeah, it’s black
Now, I realize I haven’t event mentioned the weBoost Overland antenna I mounted next to the spare water tank, and cell signal booster we also installed. Well, I guess you’ll just have to stay tuned for details about that…any questions?
How much does the “finished” project weigh?
We don’t know exactly, yet. But factoring in the build and our gear, I estimate the total camper weight at ≤1000 lbs. Thanks for asking!
Terrific buildout Jim!
Thanks Sam! More details to come…