We discovered another result of how extreme weather affects RV weatherstripping. The vinyl strip inserted in the channel molding doesn’t only dry and crack over time, it shrinks!
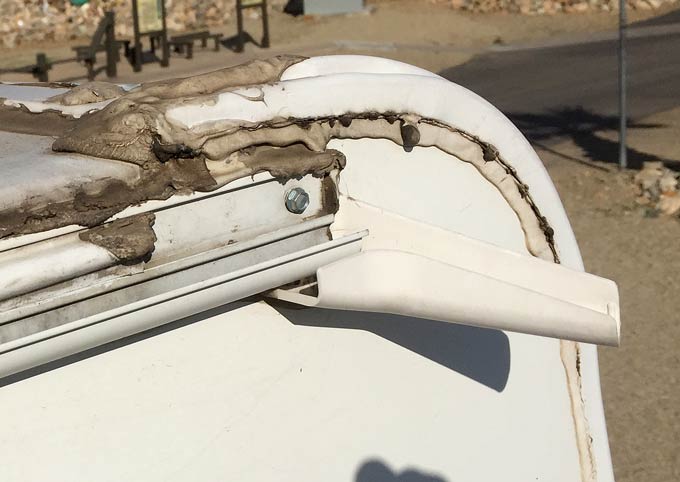
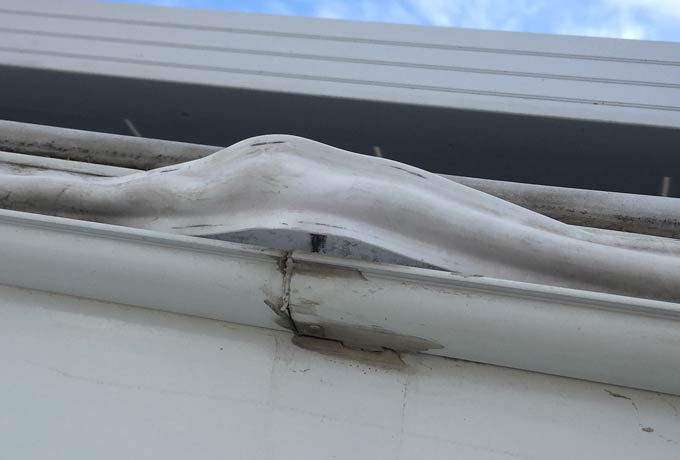
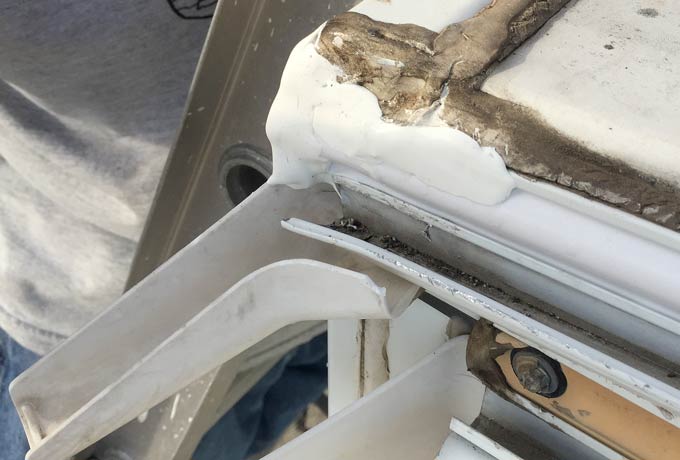
Over time, repeated exposure to freezing winters and desert heat caused the strip in the channel molding along our roof to shrink. It also buckled and popped out of the channel at the seams where the molding was pieced together. This caused the dreaded black streaks where water leaked out of the roof drainage channel.
This may have been caused by those many times we arrived in the mountains too soon – or left too late – when snow would accumulate and melt, and freeze again.
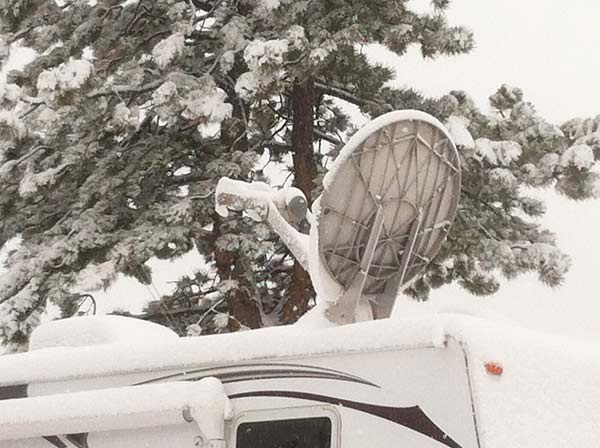
The desert sun in our favorite winter destinations was more likely to cause the shrinkage. Regardless, it needed to be fixed! Read my first post about how to replace exterior RV weather molding, and see below how I handled this repair a bit differently.
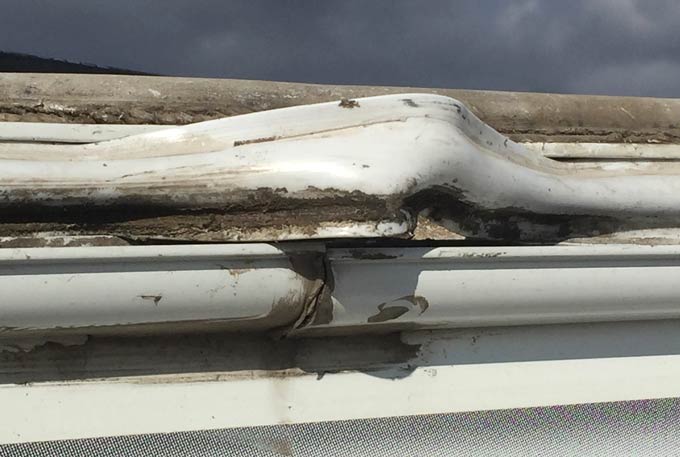
Thankfully, I had half a roll of heavy duty vinyl insert trim remaining from that first repair of the side molding trim which I’ve been carrying around for just this occasion. I’m even more thankful that the 1″ trim is the same size! Not knowing if I had enough trim to replace the entire length of the roof channel molding on both sides, I decided to salvage what I could and add additional vinyl stripping where needed.
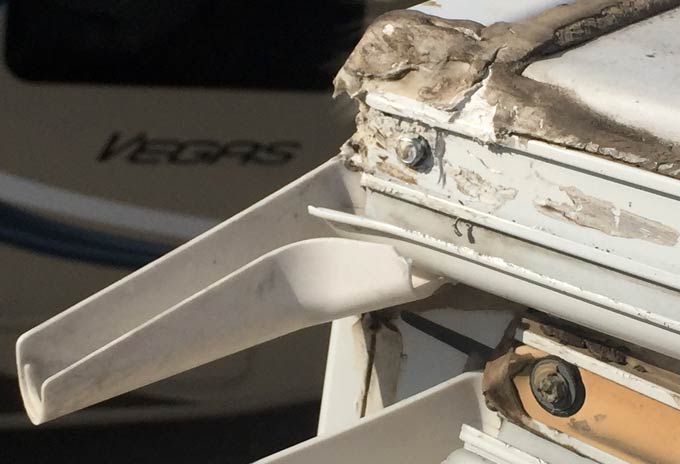
First I cut the ends off and the buckled section out of of the bad strip. After cleaning the exposed molding track of old Dicor and debris, I then gripped the existing strip and slid it all the way back down the channel to the end of the molding and sealed it up to ensure water was directed into the downspout.
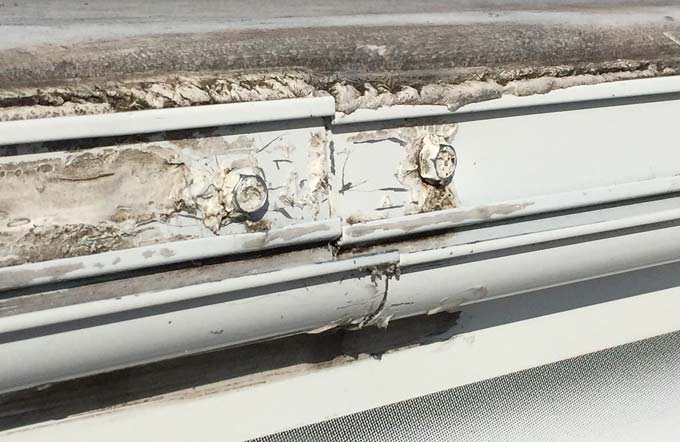
This left about a foot between the end of the old vinyl strip and the seam in the channel where it had buckled. Again, I cleaned dirt and dried Dicor from the channel molding seam.
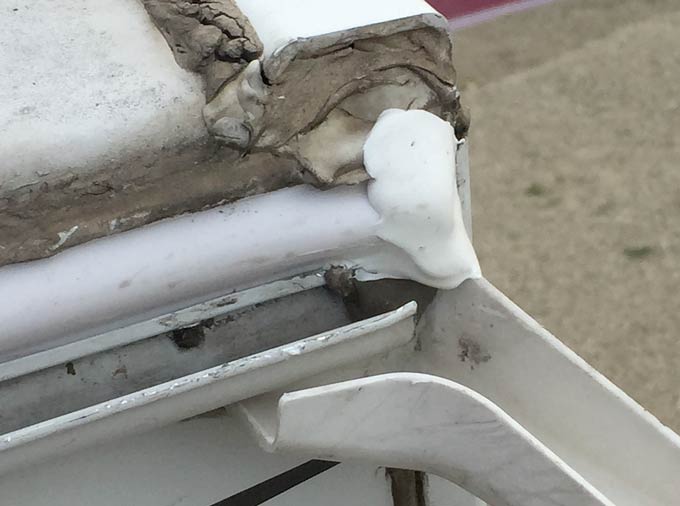
After sealing the end of the strip near the downspout with a smooth application of Dicor non-sagging lap sealant, I placed the roll of new vinyl insert trim on the roof near the section I had cut out. Pinching it together, I inserted the new trim into the molding, overlapping a few inches of the existing trim. I added a dab of Dicor between the two strips, and applied an ample coating over both securing them together and ensuring a watertight seal.
After squeezing the trim and inserting it into the channel all the way to the other spout, I cut the end and sealed any gaps with more good ol’ Dicor.
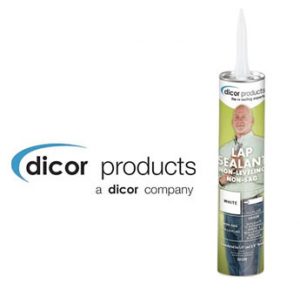 I prefer non-sag Dicor over the self-leveling lap sealant, since it holds quickly on vertical surfaces. I have never used any brand other than original Dicor, which is a must-have for any RVer’s toolbox. In case you’re wondering, you can read why it’s important to use Dicor instead of caulk.
TIP: To keep any Dicor remaining in the tube from drying out, for future use, I ensure there is no air in the plastic tip and wrap it tightly in a plastic bag, then secure that tightly with tape. By doing this, I have reopened an old tube of Dicor months later and been able to use it without any problem.

If you do need to remove silicone, use vinegar. Still not easy but not nearly as hard.
Thanks for that tip! But Dicor is an EPDM Lap Sealant, not a silicone based caulk. I have found alcohol and elbow grease work pretty well.
Jim,
I’m a retired engineer and formerly worked for Safari Motor Coaches….Looking at the condition of your sealant in areas around where you worked, it appears you may be due for a complete re-seal job. Sealant cures quickly and should not attract dirt. When a seal gets dirty, it is usually because the butyl tape underneath is creeping out (since it never cures). Butyl tape only functions when between 2 surfaces in a joint. It fails quickly in a surface lap joint. I also see cracks in the sealant and separation from the trim in places. It is a significant project to reseal because it MUST start with thorough removal of the old caulk. It really is necessary a whole lot more often than most RV owners think (or want). For those that lack caulking experience; 1) don’t put new sealant over old. The old dry caulk is not clean and has UV damage. It is not a good surface for adhesion. 2) The most common degradation is at the surface joint and just covering a weak joint is not as good as creating a whole new one. 3) ‘Self-leveling’ sealant is ONLY to be used on level surfaces. It seals better than non-sagging and should be used whenever possble. ‘Non-sagging’ is for all non-level applications. 4) One tool that is very helpful to remove sealant is an ‘oscillating tool’ with a scraper blade. Becareful using it on plastic or rubber. Even a cheap harbor freight tool works pretty well.
Thanks for the feedback!
Steve, I have an old Aerolite motorhome, Astro-van base, in good shape considering its age, the cab over was installed as a separate piece slipped over the rest of the fiberglass body, so the seam goes over the top in front of the side windows then below. The trim is different than any I have seen like the soft vinyl insert type, it has a hard plastic cover over the metal .has large screws holding the seam together. On the roof I have covered the trim with Eternabond and now have no leaks on the roof, but on the sides under the small windows I have a leak, I am hesitant to remove the plastic covering on the trim I don’t think it is still available so I sealed it with dicor sealant but perhaps the plastic insert itself leaks or holds water. I think eternabond over the seams down the side would look pretty ugly.I am going to install new windows but I need it to be leak free before covering in and replacing the bunk floor and side walls. Any thoughts or help will be much appreciated !! thanks
Good luck with that! Hopefully Steve can get you a better answer. Eternabond or Dicor would be ugly fixes indeed…sometime function take priority over form!