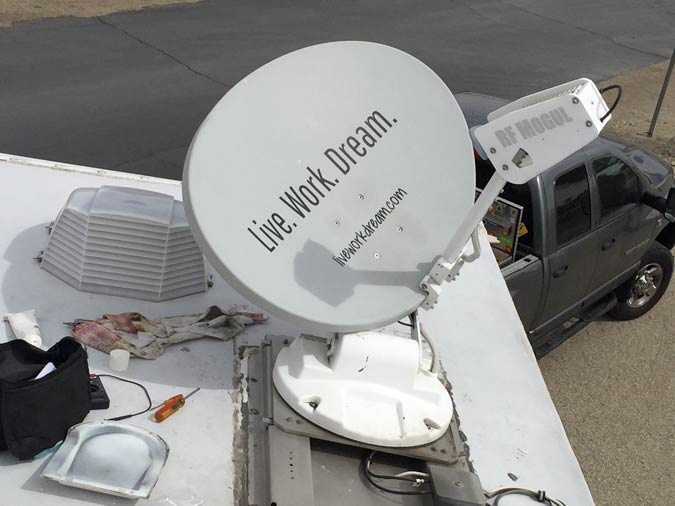
This is for anyone who wants to learn how to fix satellite dish skew motors. Yeah, I know. That may be a rather small audience. So consider it notes to self, with plenty of photos about my recent repair to fix the satellite dish skew motor on our RV DataSat 840.
Why Fix Satellite Dish Skew?
So, what happened? Well…we had not used our satellite internet dish for quite a few months. Prior to that, we had it deployed and working during our extended stay in the great green (and moist) Northwest. I figured it would be a good idea to make sure everything was working before we hit the road again. Good thing I did! First thing: I powered on our MobilSat satellite internet dish and did a calibration. The antenna elevated just fine. As soon as the dish skew motor engaged, I received a Bad Skew Count error. Ugh. Thankfully, I knew what I was doing, and I had all the parts I needed.
If you need to fix satellite dish skew errors, start by testing the skew count sensor. Read my complete instructions here:
How to Fix Bad Skew Count Error on RVDataSat Satellite Internet Dish
In short, you can test the sensor by using your multimeter to check continuity of the connected wires and passing a magnet back and forth across the sensor tip. Our satellite dish skew motor count sensor appeared to be working fine.
Steps to Fix Satellite Dish Skew Motor
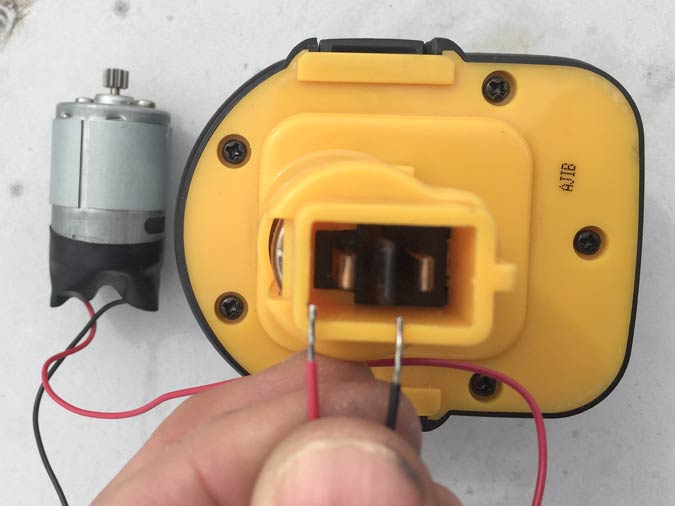
You can test the satellite dish motors using a 12v DC accessory battery. Touch the positive and negative leads to the battery terminals, and the motor should spin. Reverse the polarity and gears will turn in the opposite direction. TIP: This is good to know if you ever need to stow your dish with an inoperable controller!
With the dish stowed, remove the skew assembly cover to expose the skew wiring mounted to the gear case.
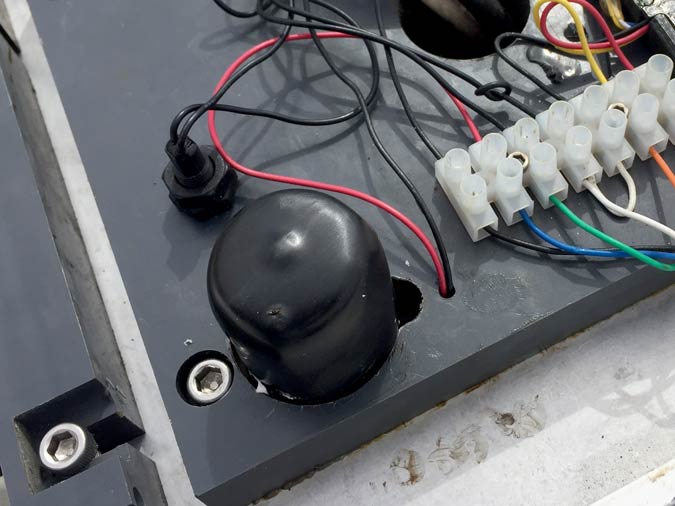
I tested the replacement skew motor I had on hand for our RV DataSat 840. It worked fine, as expected. It was pretty easy to determine that our installed motor needed no testing…
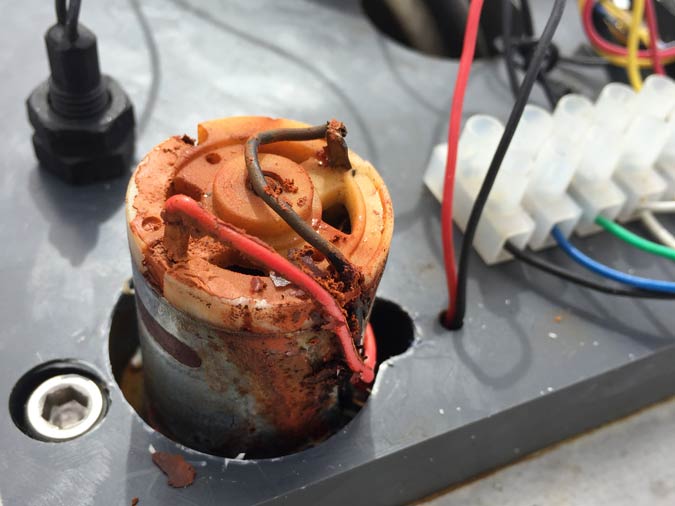
Remove vinyl cover from skew motor. Disconnect red and black skew motor leads from Skew white ODU Connector. See included RV DataSat wiring diagrams below for reference.
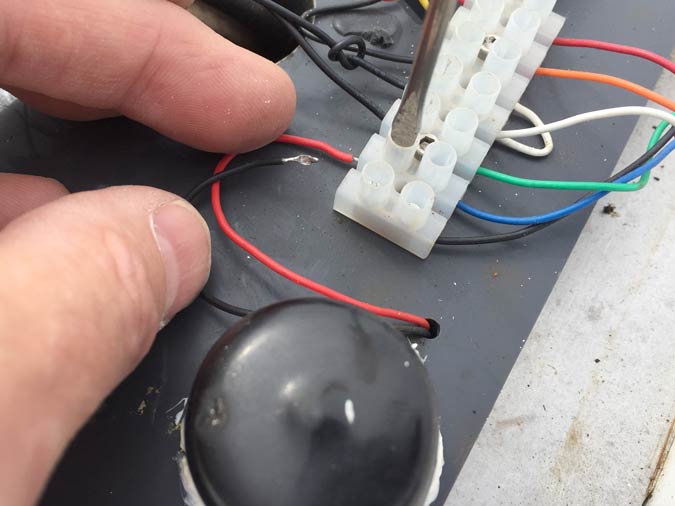
IMPORTANT: Do NOT attempt to test skew motor while dish is stowed! If the motor works, and the dish is still stowed, you’ll be sorry. If necessary, elevate the dish enough to clear all components of any obstruction before attempting to move the skew motor. Otherwise, see following instructions for how to remove and fix satellite dish skew motor.
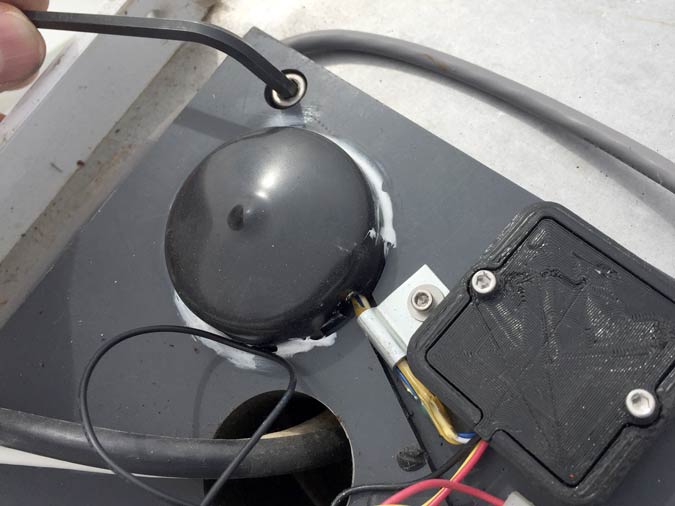
Remove four corner screws with Allen wrench to release the gear case cover.
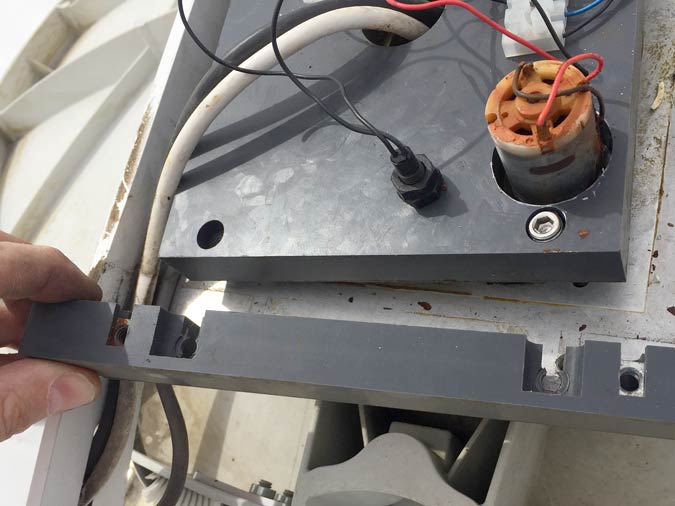
Remove the bracket at the base of the gear case to provide slack in the antenna RF cables.
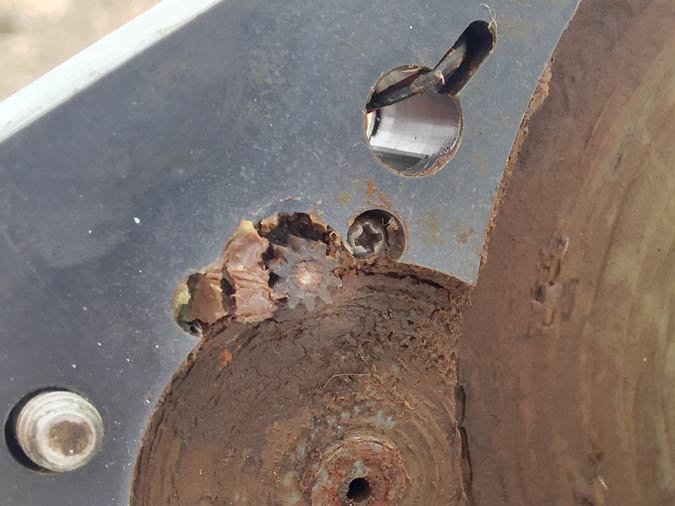
Carefully raise the gear case cover, while watching to notice if any gears come along for the ride. Smaller gears may have a tendency to adhere to the grease. Remove two small screws on each side of the skew motor gear to release the motor.
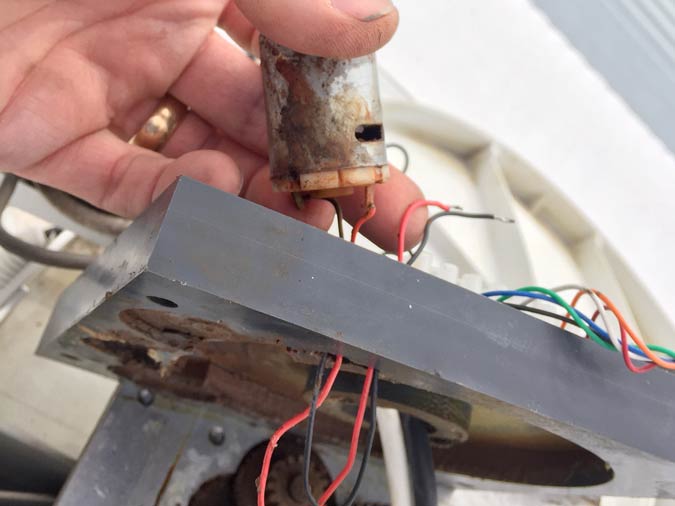
NOTE: The skew motor wiring feeds down into and back up through the gear case cover. Remove the motor and pull out the attached wiring.
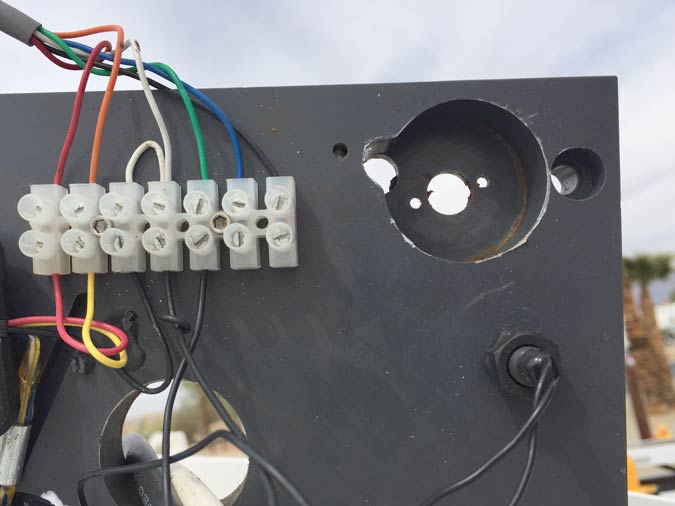
With the case cover elevated, inspect all the skew gears aligned on the base plate. See Another Easy RVDataSat 840 Repair for reference of gear assembly.
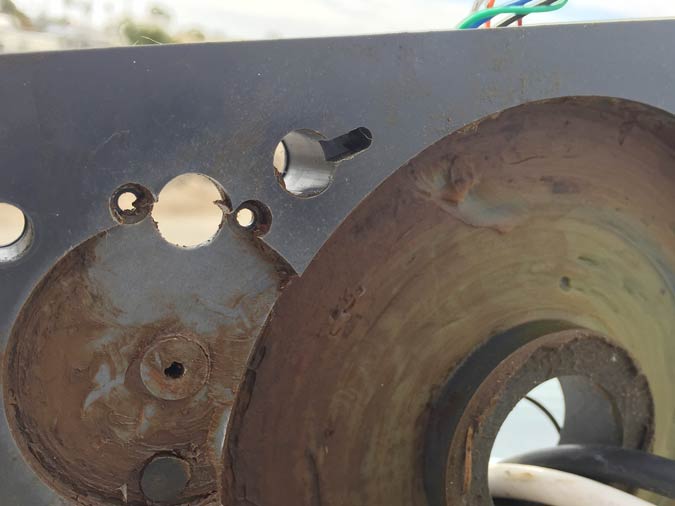
Wipe clean any noticeable dirt and debris. Do not use any sort of cleaner or solvent. Some discoloring is to be expected.
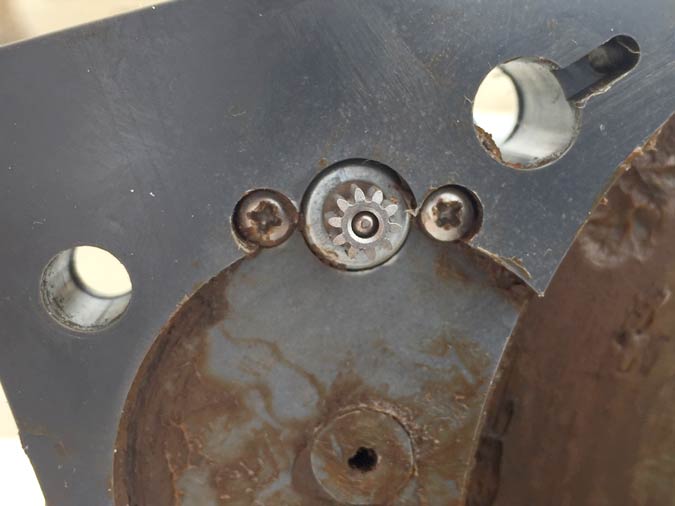
Insert the new satellite dish skew motor into the top side of the gear case. Feed the black and read leads through the wiring channel. Tighten two mounting screws to secure from inside.
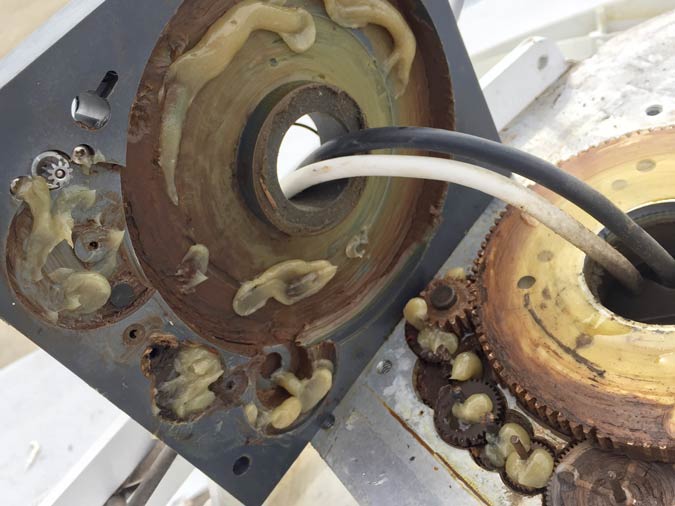
Apply an ample dabbing of fresh grease on all moving parts. Carefully place the gear case cover atop the skew gears. The skew motor head should align with its matching gear.
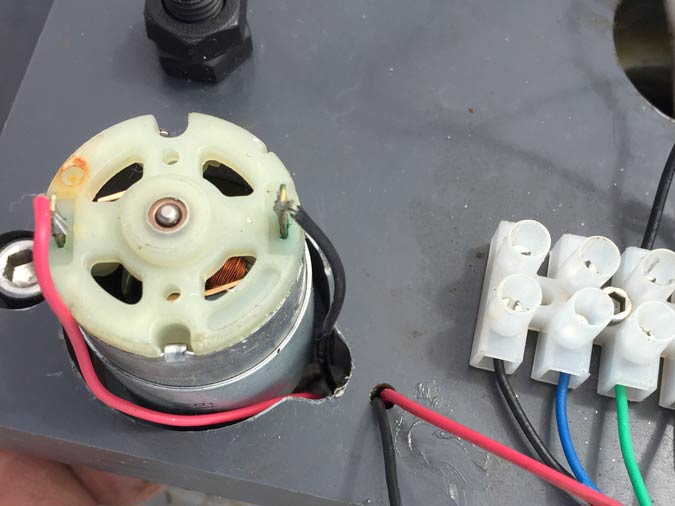
Tighten the four corner screws to secure the gear case cover in place. Reattach the RF cable bracket. Slip vinyl cover over new skew motor, being careful not to bend the connections. Apply a small amount of silicone around cover to prevent moisture from causing rust. And hopefully you won’t have to fix satellite dish skew ever again!
Any Questions?
*Download RVDataSat Manual and Wiring Diagrams:
RVDataSat840 Operation Manual (2016, v.2.0)
DataSat 84CM Quick Wiring and Setup Guide