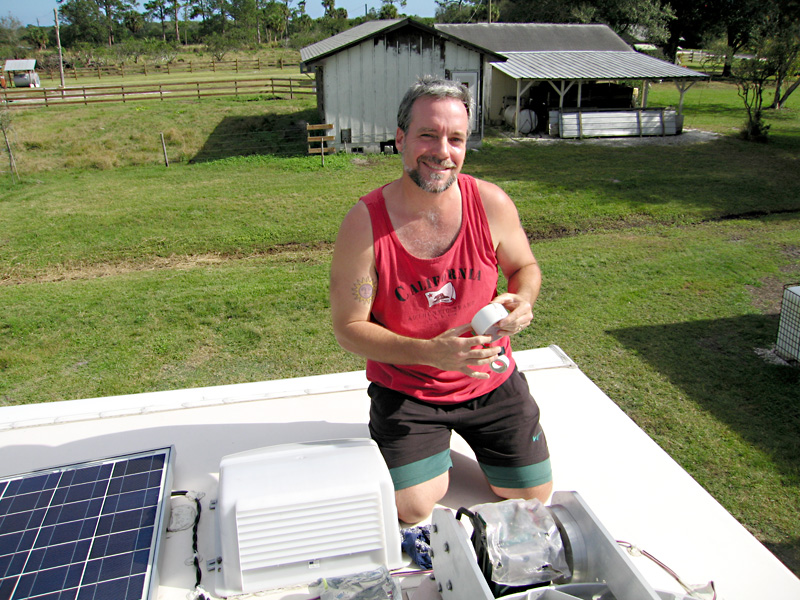
Translation: Here’s a little video we made showing how I replaced the Upper Control Board on our Datastorm F2 mobile satellite internet dish after receiving a GPS failure from our D3 controller.
If a picture is worth a 1,000 words this video must be worth at least 1,024. But here’s a few more about the experience anyway. Just to make a short story long …
Everything was working just find with our MotoSat satellite internet connection since we arrived for our workamping stay at White Rabbit Acres. Then one evening the wind kicked up enough that we thought we should put the dish down. The next day when attempting to get online, our D3 dish controller gave us a “GPS Failure” (-17). Our dish had no idea where it was.
Restarting everything didn’t make a difference so I called tech support. It was a Saturday, so I got the after hours recording and left a message. Surprisingly MotoSat called right back.
After explaining our situation, I got a quick response. They would need to ship us a new UCB, or Upper Control Board. Being a techie, I had no problem replacing a circuit board. But monday was Christmas Eve. And sure enough the office would be closed.
 How long would we be offline?!?! We started to break out in a cold sweat. Then the MotoSat support rep provided a workaround. All we had to do was put the D3 controller in Manual GPS mode and enter our coordinates. OK. But that assumes we knew our GPS coordinates.
This was the one and only time we wished we had a Garmin. Luckily, I can read a map. The rep informed me that I just needed to get within about 100 miles and the dish would be able to peak on the satellite’s signal. I must have gotten a lot closer because we locked on right away.
Our belated Christmas present came when MotoSat sent us the replacement board. Just one thing, it had a big sticker on the main chip that said F1. We have an F2. I went to replace it anyway, and discovered that the label on our board said F3. Whatever.
The procedure for replacing the F2 Upper Control Board is simple:
- Stow the dish, power down the system and remove the dish’s top shroud
- Remove the four jumpers and five screws, then install new board
- Reattach cover and power on the system
- Telnet into the D3 using a terminal window and type “ucbupdate”
- View the Datastorm Controller page and wait until the status changes from “Programming Mount” to “System Initialized”
- Select “Calibrate Dish”
That’s it! Assuming you were sent the correct replacement part. We were not.
Everthing went fine with this repair until I attempted to calibrate the dish. When the azimuth motor tried to turn the dish, it tried too hard. The D3 would display a motor overcurrent error. And of course, it was a Saturday. And this time they didn’t call back.
When I finally got through to a rep, I was informed that the UCB for the F2 and F3 are the same. But we were sent the F1 board. I convinced MotoSat to overnight the correct part to us, and they agreed to cover the shipping.
How to tell the difference between the F1 and F2 UCB board: There is a very small transistor at the bottom right corner of the main chip on the F1 board. This is missing on the F2/F3 board. other than that they look identical. Aside from the big label on the chip.
So I still have no idea why the GPS unit on our board went bad. And neither did MotoSat. Of course this was a “very rare” issue. I was just glad to to get online with manual GPS coordinates. My first thought was to find out our coordinates using Google Maps. But duh … we would need to be online for that. It’s always good to know your maps.

Wow, that seems complicated. Way to side step the process, though, by fixing it yourself.
i can only say — CHINGOW !!
I’m so tired of my Datastorm…we seem to have all the “rare” problems too!!! The first thing they allways want me to do is stick my tongue on the coaxile cable…i could go on…next time-lol
UR such a good Boy Scout and not a half bad Geek. Together the GeekScout in you saved the day. 😉