Have I mentioned how much I enjoy workamping at Vickers Ranch because of the opportunity I get to do some creative woodworking projects? Yeah, I thought so, maybe once or twice. Well, here’s one I’m particularly proud of.
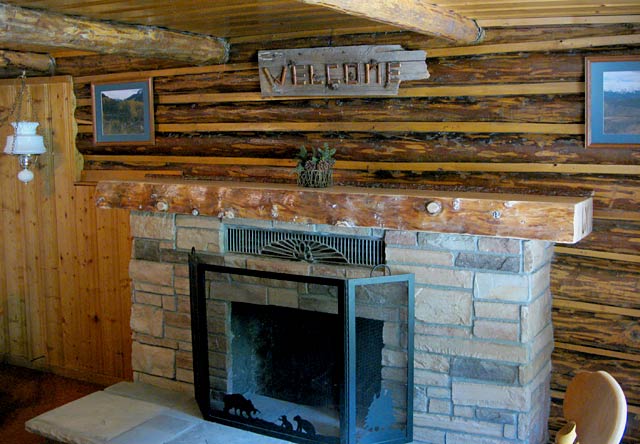
Last year, I arrived at the ranch in time to help install and finish a similar mantle my boss made. This year, I had the honor of doing the dirty work. So I thought I would share how to make a custom log fireplace mantle like this one I made at my favorite workamping job.
Read on for tips, lots of photos, and plenty of fun with power tools!
How To Make Custom Log Mantle At Your Workamping Job
First, find a workamping job that provides the opportunity to work with wood, great big hunks of wood. It also helps to have access to all the right tools. For starters, we cut this 6″ slab on Wood-Mizer portable mill.
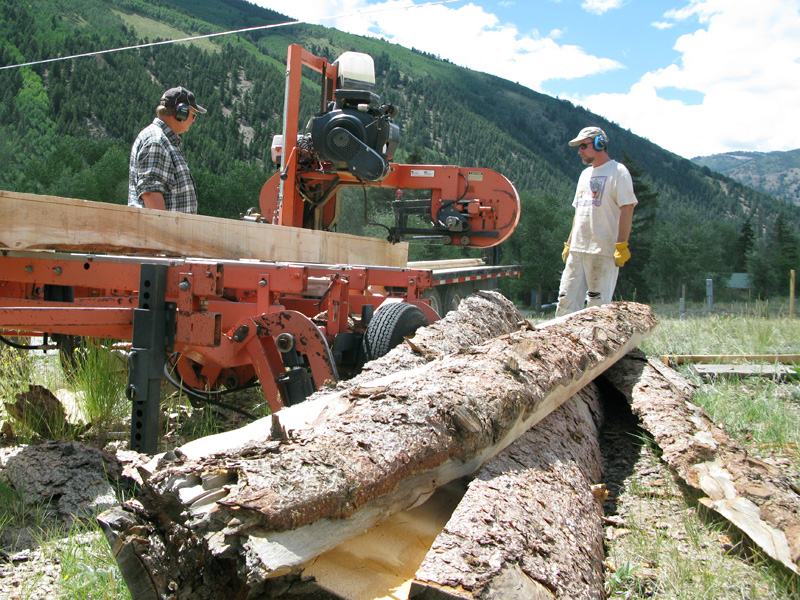
Not going to be purchasing a portable mill anytime soon? Consider this nifty chain saw mill attachment!
 My first step was to measure the hearth in the cabin we were sprucing up. Once we had milled the 8′ length of Red Spruce to 6″ thick, keeping the natural wood intact on the front side, we set it on top of the existing concrete mantle.
Tracing the outline on the bottom side would ensure a snug fit of the carved out log.
Next I had some helpers sand the top of the log with 80 grit discs on a Makita palm sander. Now I was ready for the heavy lifting.
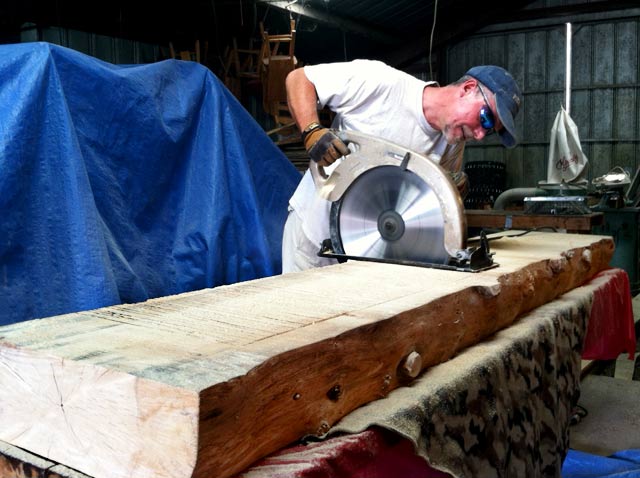
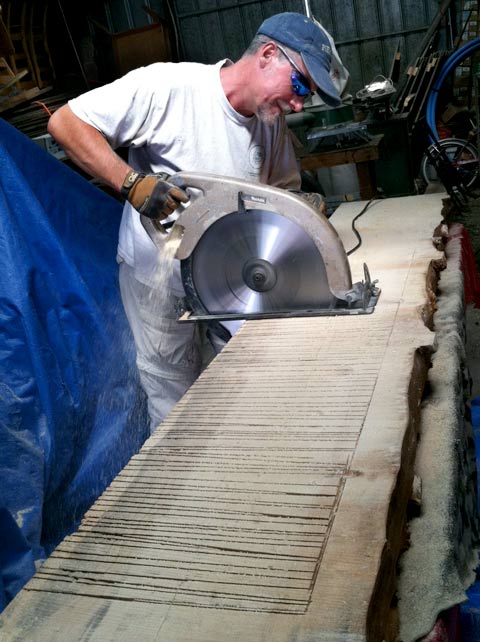
I used a 17 ½” circular saw to cut the outline and make 4″ relief cuts along the full length of log that I would be removing.
And remove I did. First with the pounding…The relief cuts made it easy easier to remove large chunks of wood with my buddy Richard Pryer, a.k.a. Pry Bar, and a little persuasion.
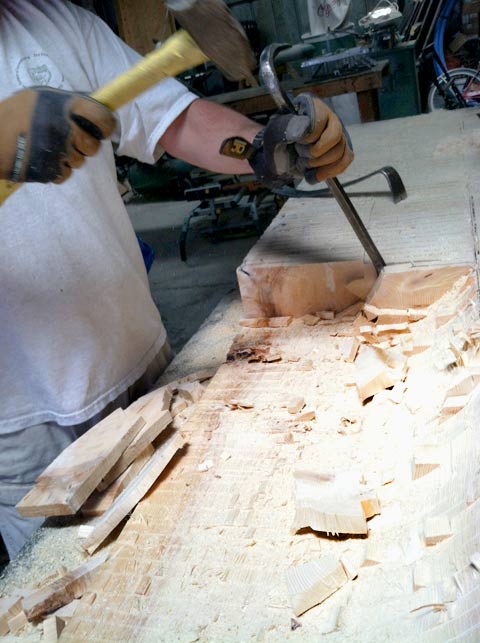
And then with the grinding…
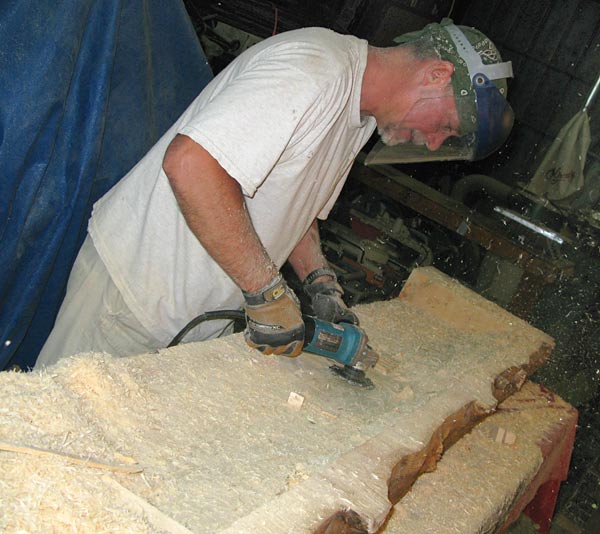
Lots of grinding…
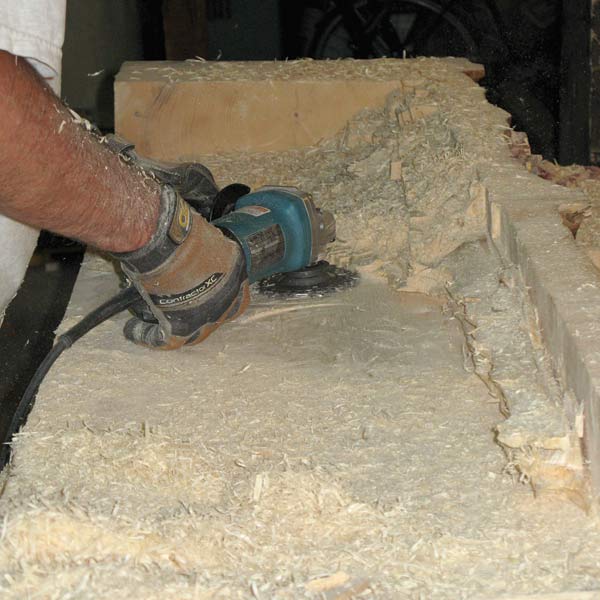
Again, the right tool for the right job really helps! In this case, that was a Lancelot chain carving wheel attached to a Makita angle grinder.
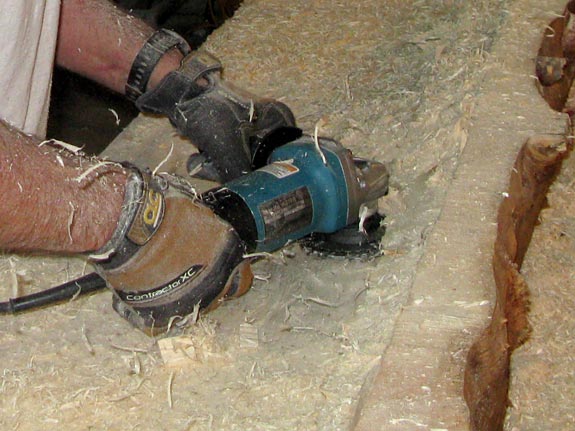
With about half of its wood removed, the mantle taking shape was much easier to handle. I cut a bit off each end, and hit the top again with the sander, then used a stiff brush to clean up the front by hand.
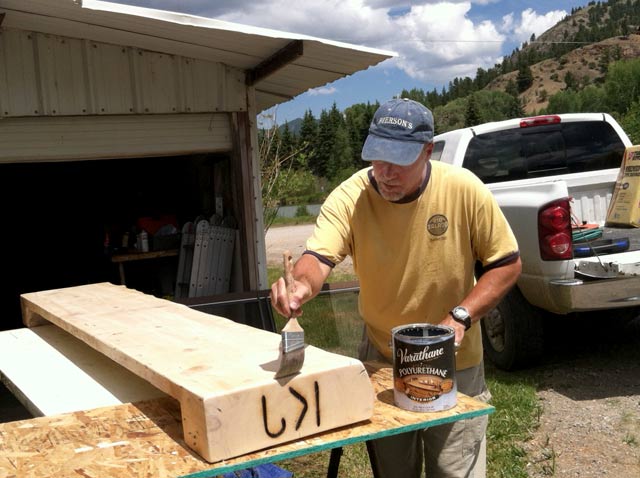
Almost done…a few coats of satin polyurethane varnish dried quick in the Colorado sun.
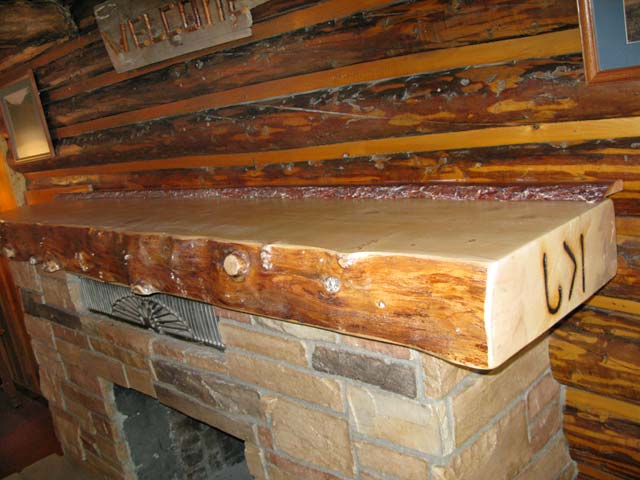
We set the mantle in place and it was a perfect fit, almost. So I trimmed it out using a strip of wood with the bark intact, to cover the irregular gaps caused by the cabin’s log wall.
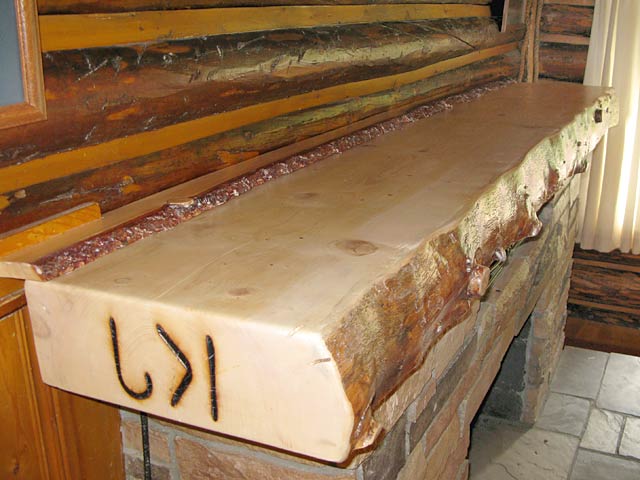
Though the mantle fit snug, we secured it in place with a couple tubes of clear silicone. But of course, my wood work at Vickers would not be complete without the ranch brand!

All true artisan’s sign their work! And that’s just what I feel like when I get to do this kind of work. What do you think?
FREE Workamper News Issue for New Subscribers!
Want a Workamping job like this?
We found this job in Workamper News. New subscribers can get a free issue with promo code LIVEWORKDREAM. If you don’t know about workampers, visit our page to learn what workamping is all about!
About to start a similar project using 175 year old sinker pine for a recessed cap mantel cover just like you made – and we have the same Heatform style of fireplace (same front grille cover too). Thanks for showing your steps as I had been looking for awhile. Hope my project goes as easy as possible. Regards.
Good luck Charles! Feel free to reply here with a link to some photos when you’re done.
Artists sign THEIR work THERE as well. Great story. Glad you 2 have a great time at the ranch…..
Thanks for the clarification! Just checking to see if anyone read the whole thing… 😉